Advanced Editing of a Data Source
If you want to apply advanced SQL to your data source, you can do so by selecting from the Advanced and SQL sub tabs in the Data Source Editor.
We recommend that only users with advanced knowledge of SQL use these functions.
Advanced Sub Tab
The Advanced sub tab enables you to add table joins to your data source. Each of the different modules have their own table in the database. The records for the module are stored in these tables. TMS will make some joins for you when using the Related Fields section but, sometimes additional joins are needed for more complex data sources.
Default Left Joins are added based on known relationships between tables and fields. The user can here modify the properties of those joins. You can also add other joins on this tab.
Joined Tables fields can be seen under My Joined Tables in the Suggested Fields section of the designer tab.
Adding a join
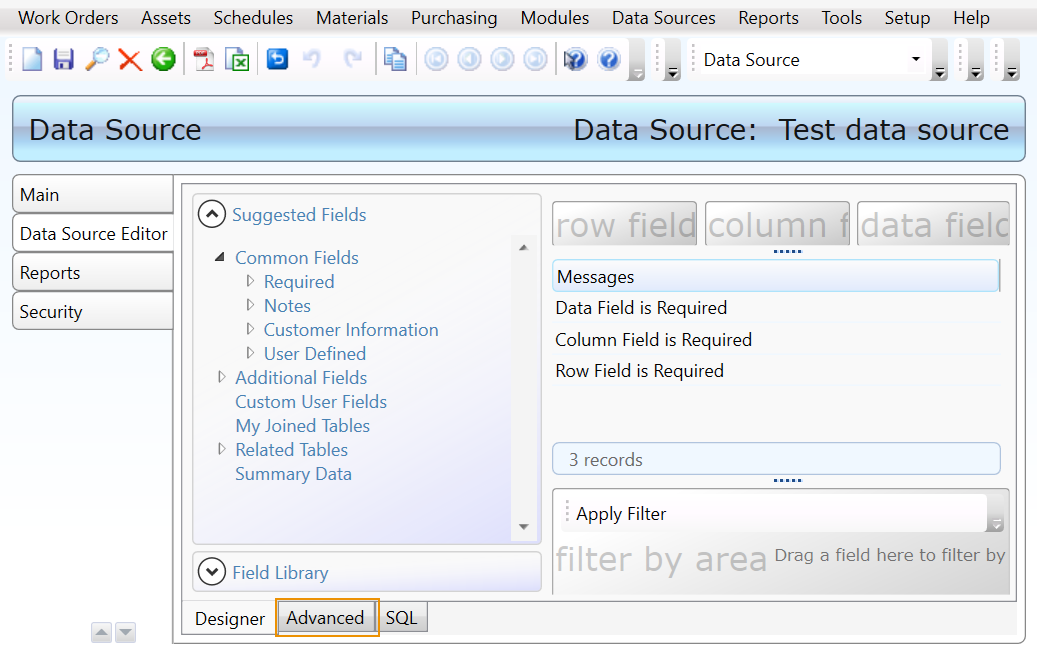
The Advanced sub tab shows any joins currently in the data source.
To add a new join, follow these steps:
-
Select a value from the Left Table drop-down.
This would be the table you want to join with the Right Table.
-
Select a value from the Left Field drop-down.
This would be the field from the Left Table that would have the same value in the Right Table. The system uses the values to know which records in each table match together.
-
Select a value from the Join Type drop-down.
-
Select a value from the Right Field drop-down.
This would be the field from the Right Table that would have the same value in the Left Table.
-
Select a value from the Right Table drop-down.
This would be a table you want to join with the Left Table.
-
Click Save.
Join Types
-
Left Join - This join will take all the data from the Left Table and add in the data from the Right Table when it matches.
-
Right Join - This join will take all the data from the Right Table and add in the data from the Left Table when it matches.
-
Inner Join - This join only takes the records where there is a match for both tables.
-
Full Join - This join takes all records from both tables.
Edit a Join
-
Click the join you wish to edit.
The drop-down fields will populate with the values from that join.
-
Change the drop-down values you wish to edit.
-
Click Save.
If you click to edit a join and then decide to add a new join instead, you can click the Clear Selection button to clear the drop-down fields.
Remove a join
-
Click the join you wish to remove.
-
Click Delete.
When deleting a join, all fields and filters pertaining to the table being removed will also be removed.
Common Join Examples
Here are some examples of joins that can be useful in certain situations. Many of these joins aren’t necessary if you just need some information from a second table, but if you need detailed information they can become necessary.
For example, if you have a work order data source and you’d like to add the assigned resource’s pager email to your data source, this isn’t included in the related table for the work order assignment.
NOTE: Most of the examples can be linked together for even more complex data sources. If the last Right Table of one example is the same as the first Left Table of another example, they can most likely be used together. For example, if you had an asset data source and used the Detailed Work Order Information example below you could then use the Resource Information based on Work Order Assignment.
work order data sources
Resource Information based on Work Order Assignment

Resource Information based on Time Charges on a Work Order

Detailed Asset Information

Detailed PM Information

PM, PE, and Inspection Data Sources
PMs, PEs, and Inspections all use the same table (vPMTemplates) so the joins will be the same between the three modules.
Detailed Asset Information

Detailed Work Order Information

Detailed Resource Information

Asset Data Sources
Detailed PM Information

Detailed Work Order Information

Detailed Resource Information based on Asset Contacts

SQL Sub Tab
The SQL sub tab can be found at the bottom of the Data Source Editor. A SQL override on a data source allows you to use your own SQL to get the information you want from the database. This tab displays the SQL that was created by selecting fields on the data source. It is possible to override the WYSIWYG version of the data source and edit the SQL directly, but once you do so, it is impossible to make further edits on the Designer sub tab.
To turn on the SQL override, click the Override SQL button.
If you’ve already added some fields and filters to the data source, it will have the SQL you created so far in the field.
To preview your SQL, you can click back to the Designer tab.
Not all modules of TMS fully support data sources that use overridden SQL. Data sources using overridden SQL can be used on a dashboard, but you will not be able to double-click a record on the widget to open it. Some fields for a data source with overridden SQL may not be available when using that data source for a report.