Add a Timeline
With the Resource Schedule widget, you can add a timeline that shows the unavailability of your resources on a dashboard. This allows managers to see, at a glance, future and past periods of unavailability, and also to edit the resource's unavailability on-the-fly.
To add a timeline, follow these steps:
-
Open your dashboard by clicking Modules and then Dashboard.
-
Select a new or existing Dashboard.
-
Select Add Widget.
-
Drag the Resource Schedule widget onto your new tab. The timeline displays the current dates and any resources that have unavailability dates scheduled for now or the near future.
-
Click Save to save the changes to the dashboard.
Add a Type Indicator to the Timeline
By default, unavailability dates and times are highlighted on the timeline in yellow. If you want to specify certain colors for certain Unavailability Type codes, so your users can differentiate one from another just by glancing at the timeline, you can do so.
To add a type indicator, follow these steps:
-
If you are not already looking at the tab that you created in the previous steps, select the tab.
-
Click in the Resource Unavailability widget.
-
In the lower-right pane, you should see Type Indicators below Widget Properties. It should be blank, since you haven't added any yet. Click the New button.
-
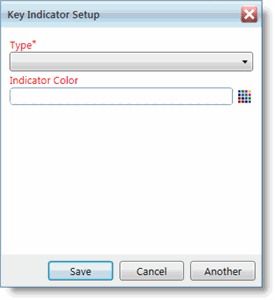
In the Key Indicator Setup pop-up window, select a Type code from the drop-down menu. For example, Training.
-
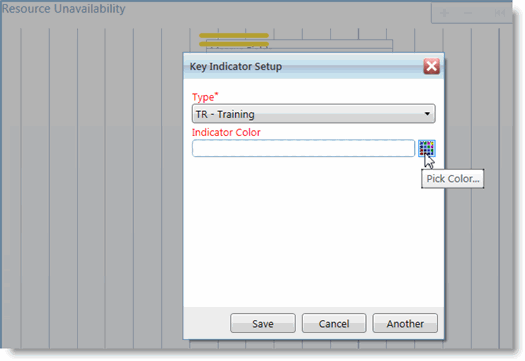
Select the Color Picker button next to the Indicator Color field.
-
The Color Picker drop-down menu appears. Select color you want to use for this indicator.
-
Click Save, or Another to save this indicator and set up another indicator.
When you click Save, the Type Indicator(s) you created appears in the list.
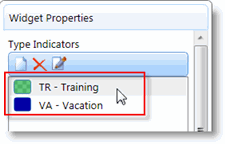
If you need to edit one of the indicators, select it in the list and then click Edit .
If you need to delete one of the indicators, select it in the list and then click Delete .