26.2 New Siterra Preview Notes
These notes describe what we've added to the new Siterra preview in this release. Review the Siterra Release Notes for other changes to the product in this release.
We're delivering this automatic upgrade to UAT environments on March 19, 2026 and to production environments on April 11, 2026.
These notes are subject to change until the production release
Assets
SP-58501
In New Siterra, navigate to an asset using the left navigation.
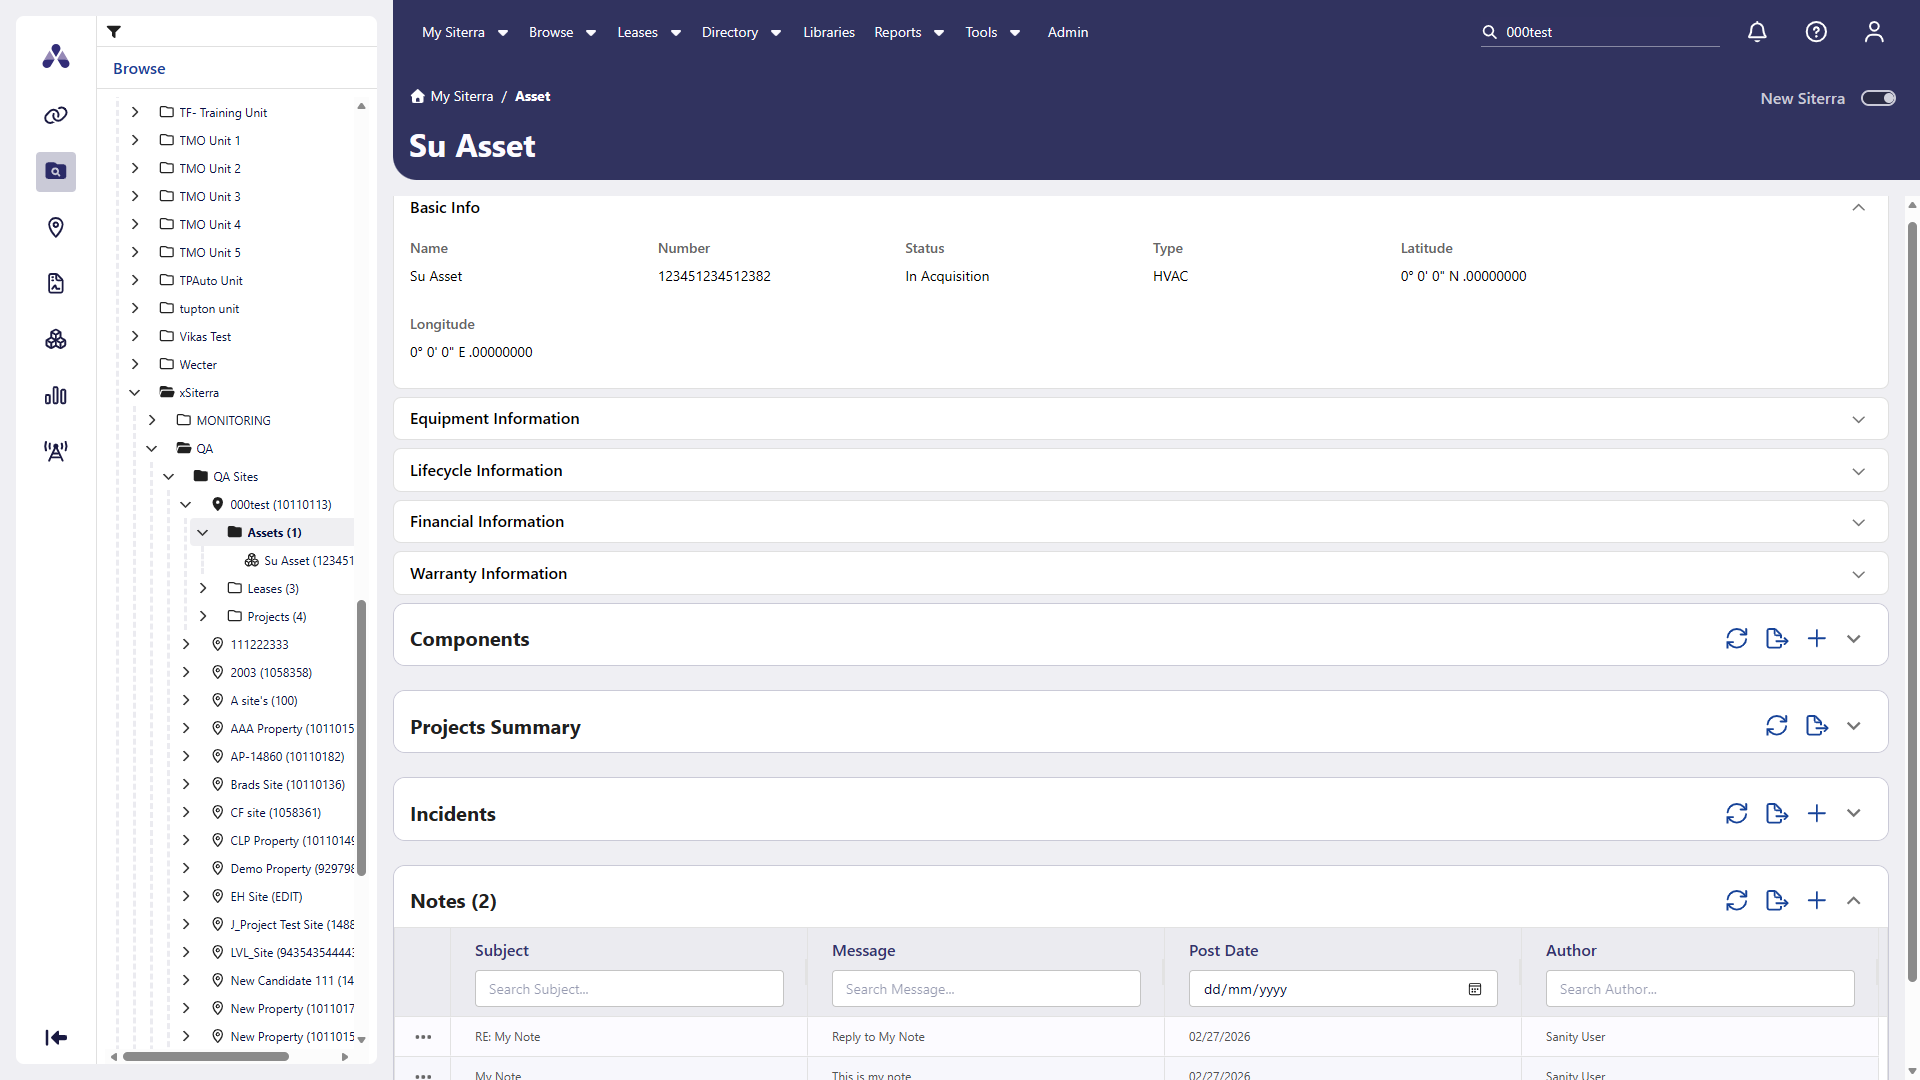
Notes
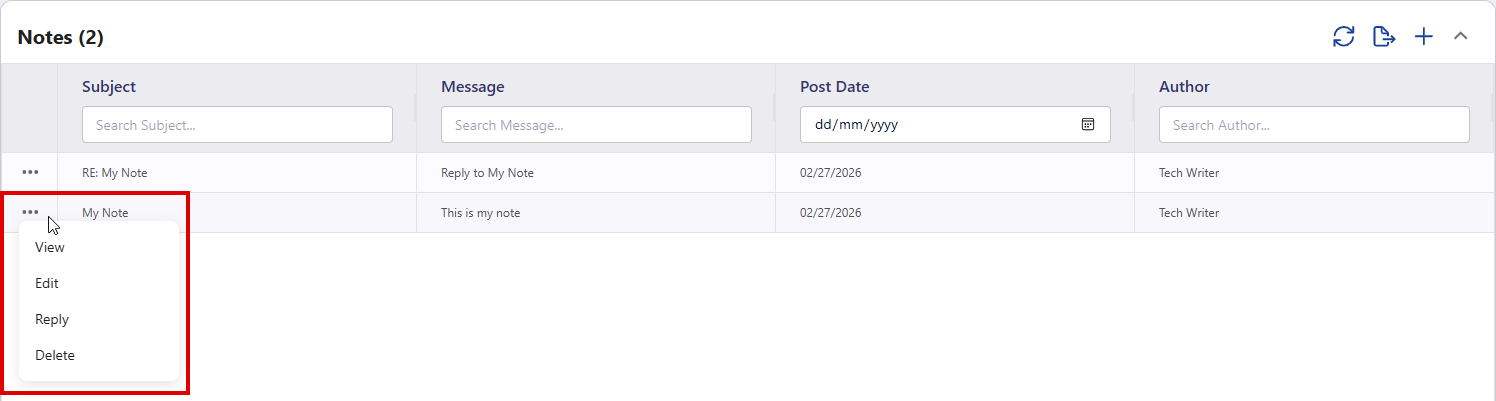
In New Siterra, View, Add, Edit, Reply and Delete notes from the ellipsis button ( ) in the Notes section.
Add Assets
SP-59123, SP-59359
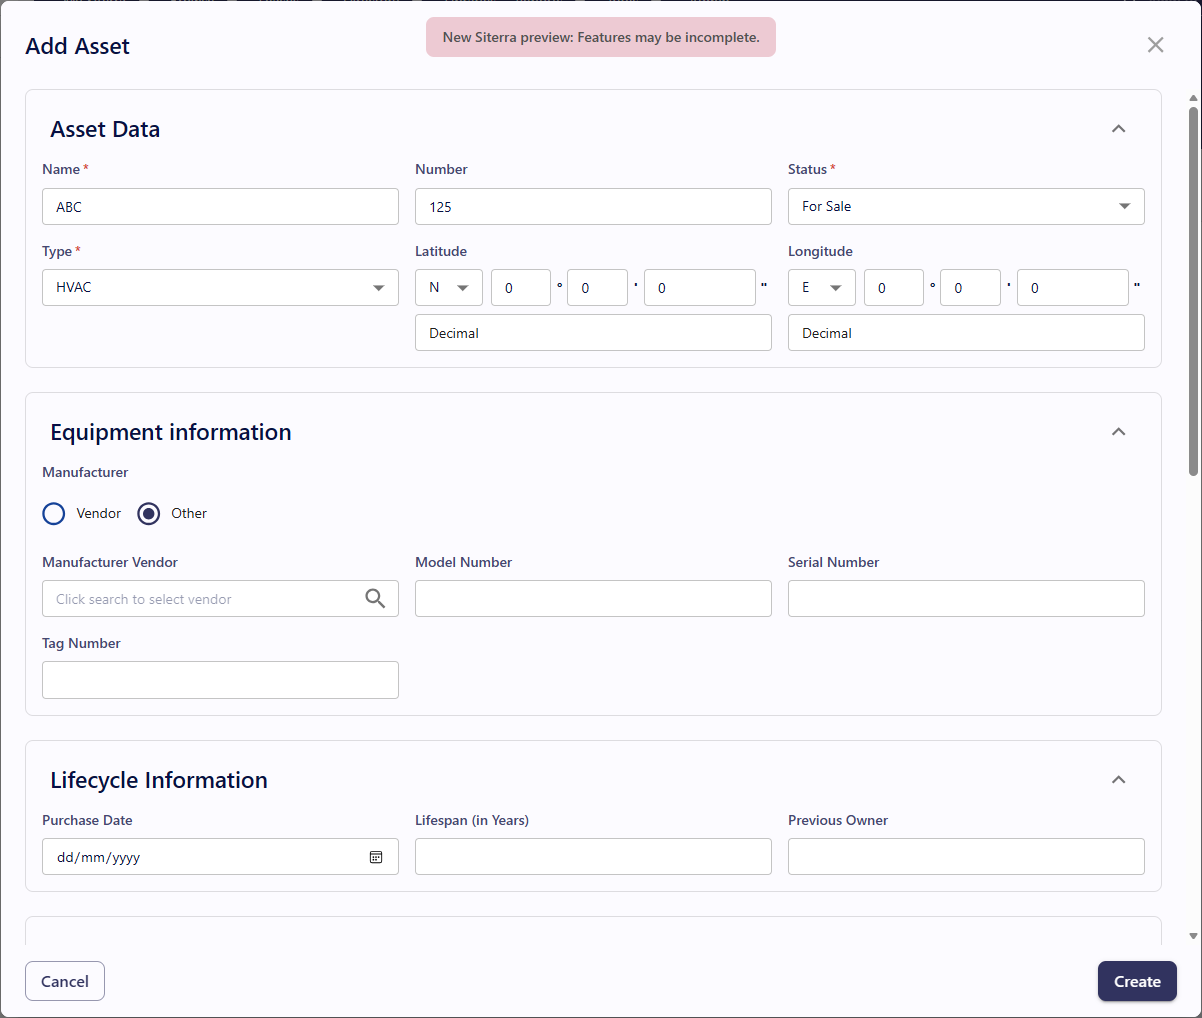
Preview the new Add Asset form from the Asset page. Some features on this page are under construction and will be available in future releases, including the ability to add assets to a site.
-
In New Siterra, select Browse > Asset.
-
Select Create Asset.
-
Complete each section of the Add Asset window:
- Select Create.

Extended Attributes: Displays fields according to EA component types your administrator has configured such as Lookup and Calculated. When you change Asset Type, this refreshes automatically depending on the configuration your administrator has chosen.
Open an object’s home page with Jump to
SP-58290
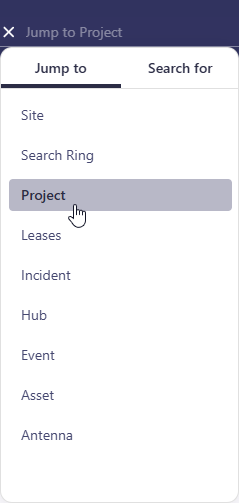
Use Jump to to go directly to the home page of an object that matches your search term.
-
In the search bar, select Search
 .
. -
Under Jump to, select the object type.
The search updates to Jump to [object].
-
Enter the exact object name or object number, and then press Enter.
Search for an object
-
In the search bar, select Search
. -
Under Search for, select an object type.
The search updates to Search for [object].
-
Enter the your search criteria, and then press Enter.
To Dos / Activity
SP-59110
In New Siterra, selecting a Site Name in the To‑Do list now opens that site in Classic Siterra.