Working with Groups
What's in this article:
Create a New Group
To create a group, you must have one of the following roles:
-
Bucket User
-
Bucket Administrator
-
Group Administrator
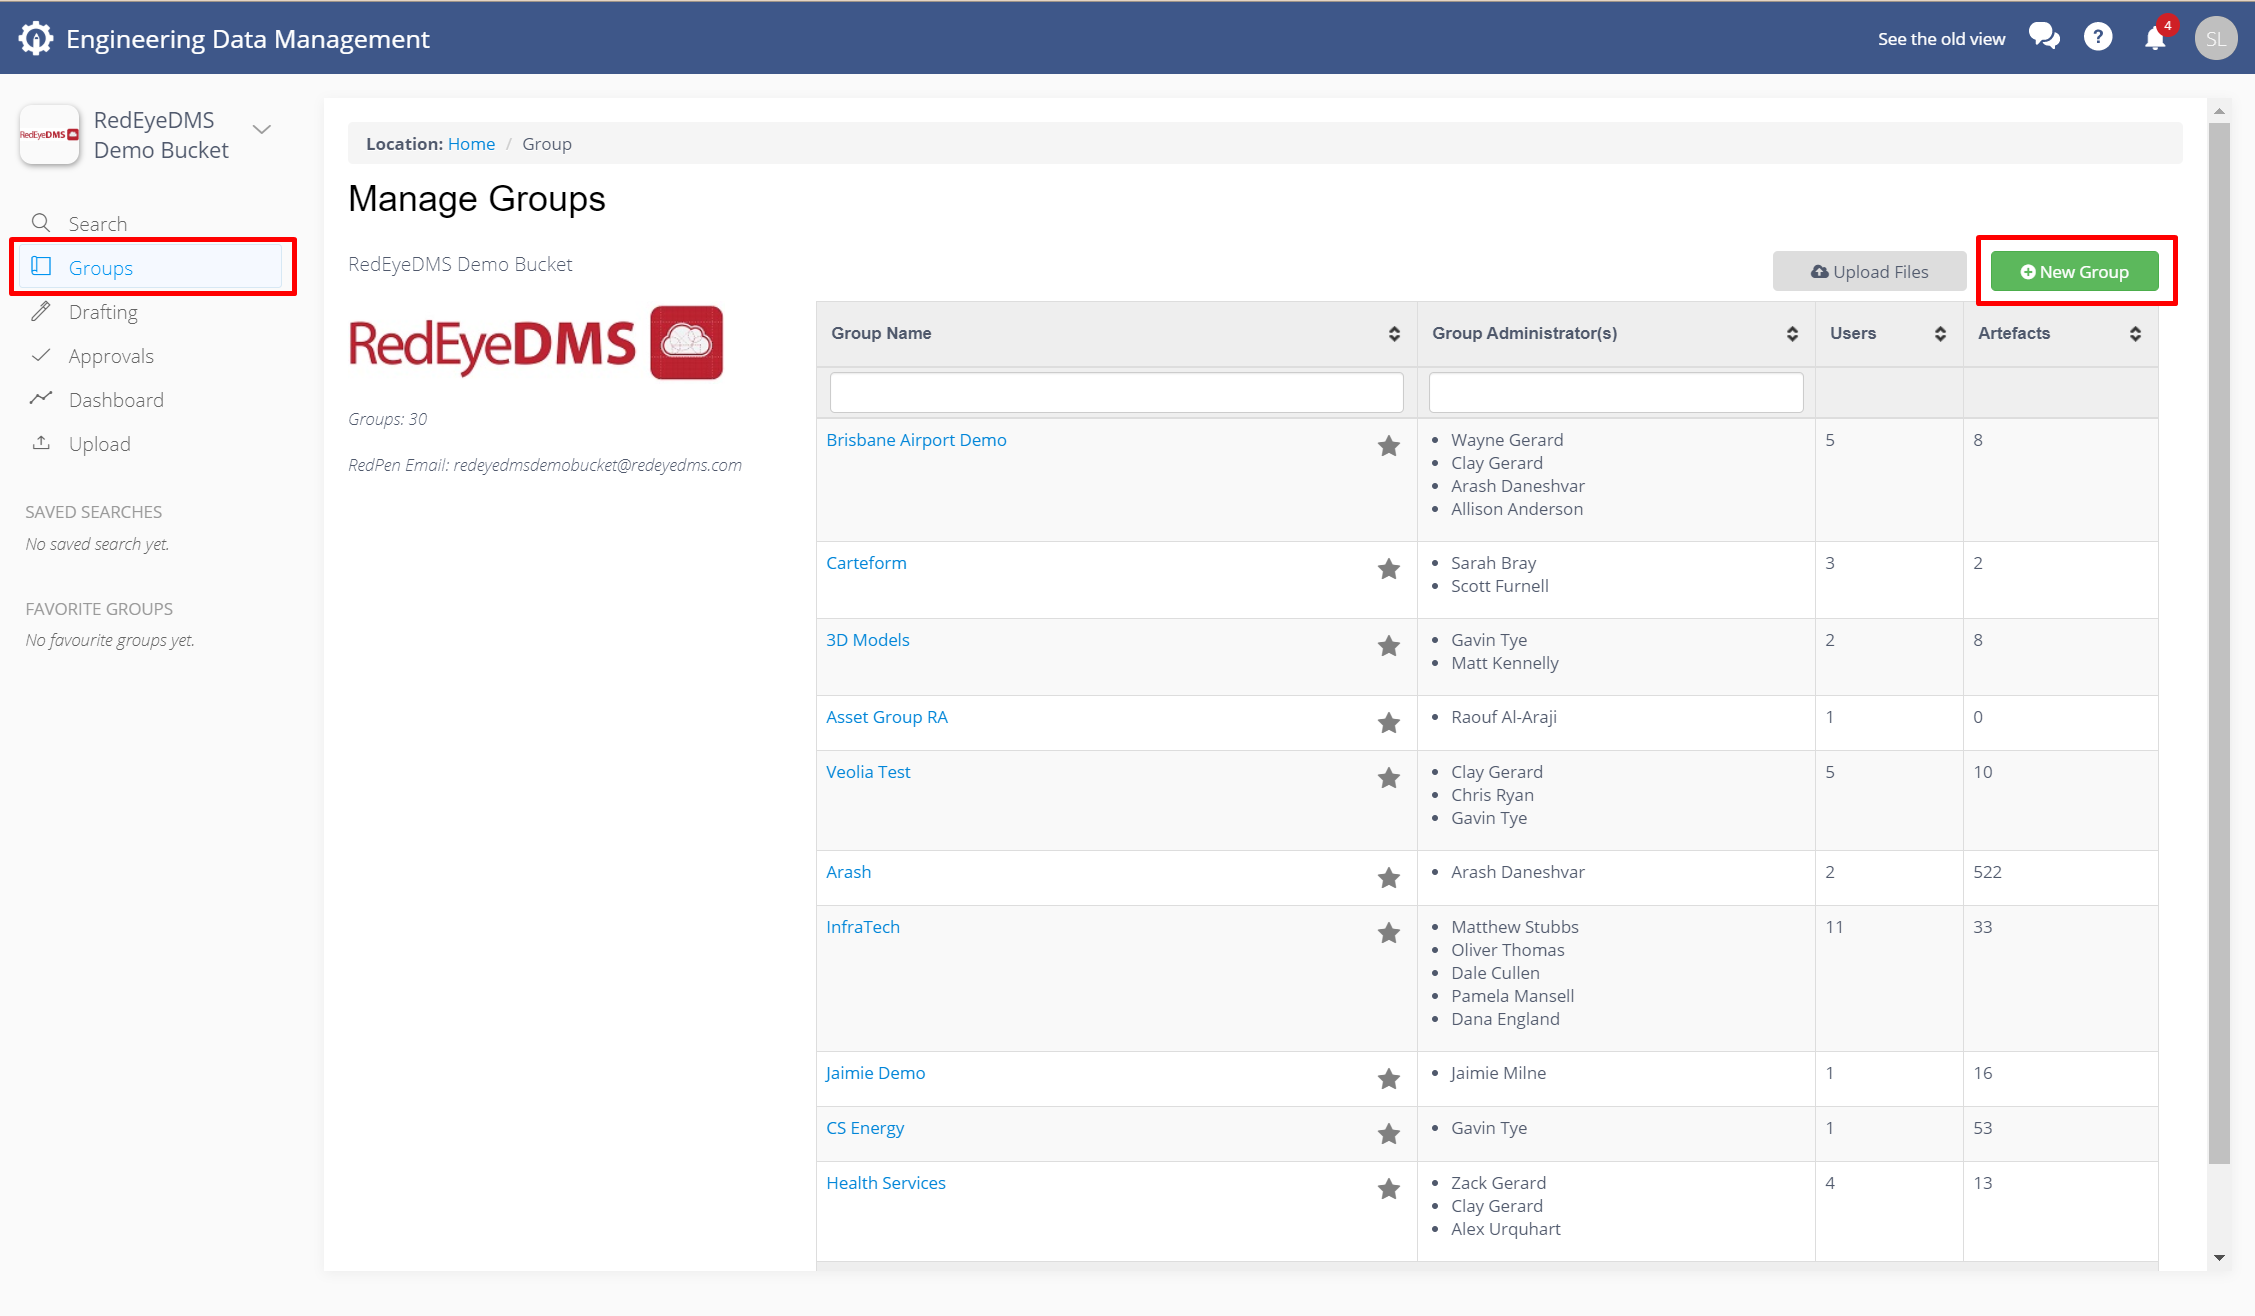
Navigate to Groups via the navigation menu on the left and click on the +New Group button.
Selecting a Group Type
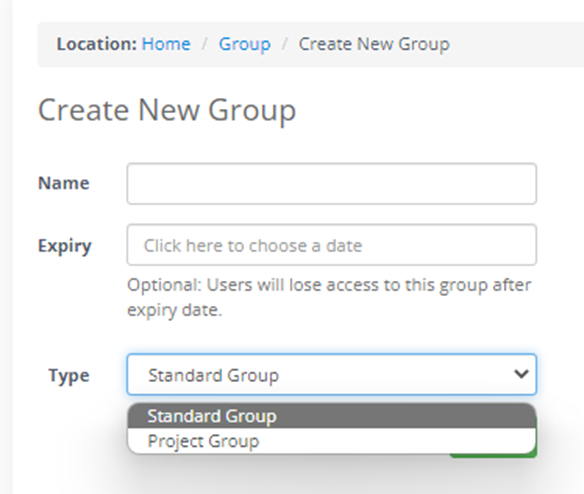
Type a Group Name and choose an Expiry Date for the group (optional), select the type of group from the drop down menu: Standard type or Project type (to use the Group Review feature). Then click Create.
There are a few Group types to select from:
-
Standard Group allows for grouping of artefacts, user access and workflow
-
Project Group does everything that a Standard Group does but with the additional function to allow for Group Reviews. If you're creating a group for project work, it is recommended to use Project Group.
-
Static Groups - OBSOLETE : if you see this option please contact your Bucket Administrator to have the Customer Success Manager Disable the option
When you create a Group, you will automatically become the Group Administrator, and this role enables you to invite other users into the project group and assign GroupRoles. You will be asked to populate the appropriate Group Roles for workflow purposes.
Group Expiry Date
Expired groups ensure that group users lose access to the group and any associated artefacts within the group that they do not have access to through other Groups or Bucket Roles.
Show Expired Groups
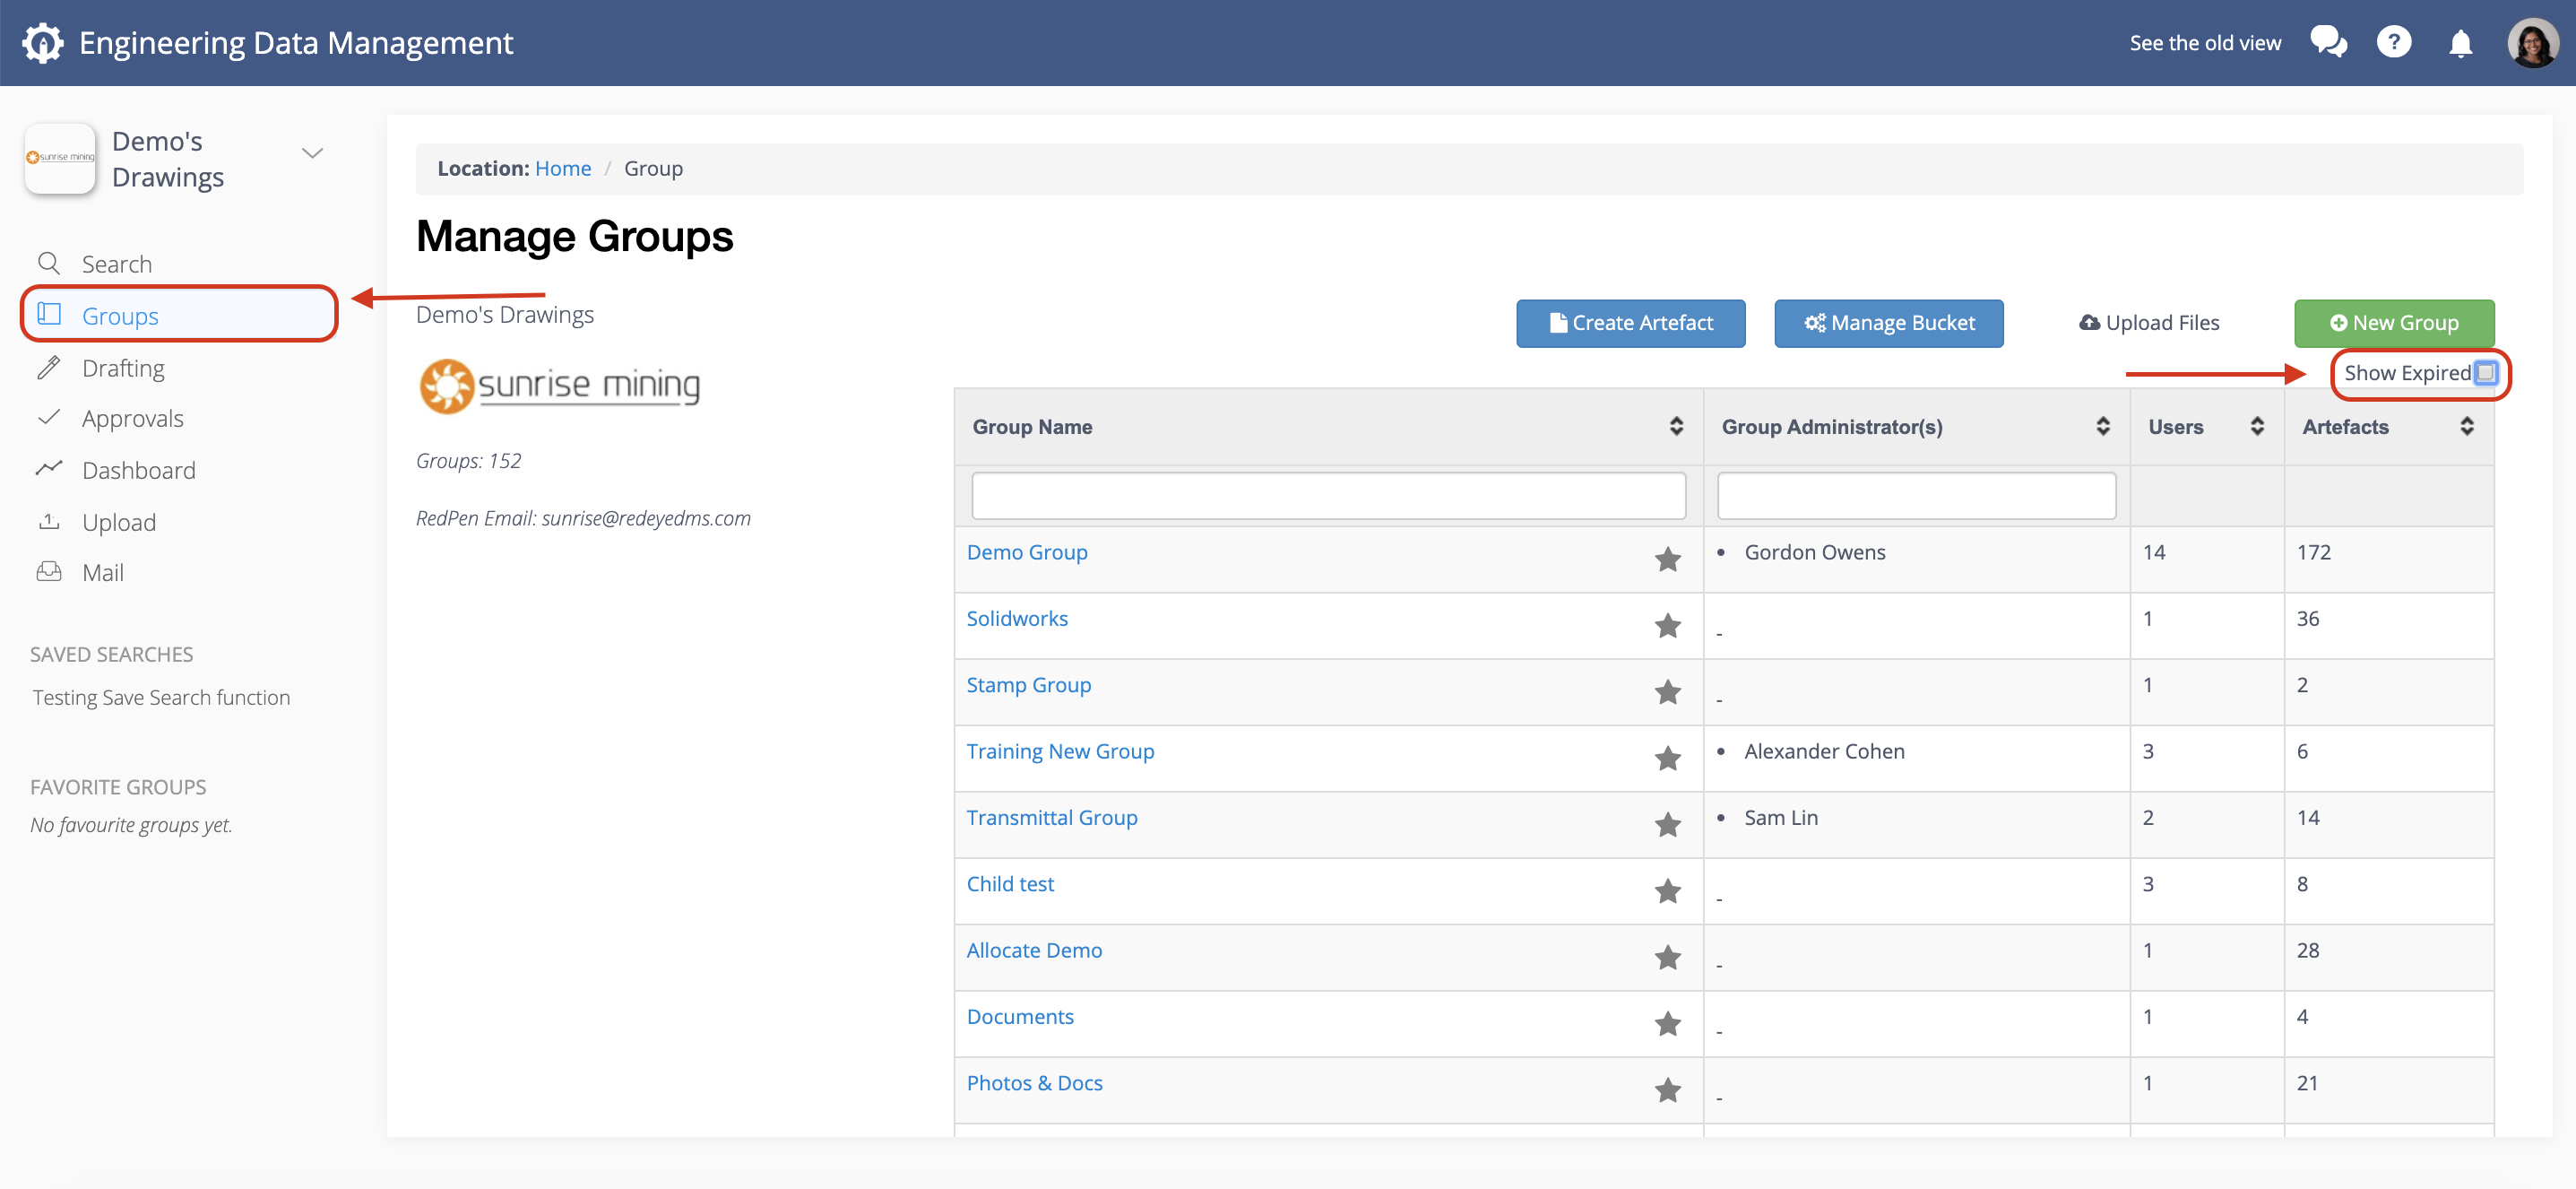
You can find out if a group has already expired. Go to Groups in the navigation menu, then check the 'Show Expired' box to show all expired groups in the bucket.
Bucket Administrators are able to reinstate expired groups by following the Edit Group Expiry instructions above.
Edit Group Details and Expiry Date
As a Group Administrator or Bucket Administrator you have access to view and change the details of a group.
First find the group you want to edit and click the Group Details tab to view the Group Details.
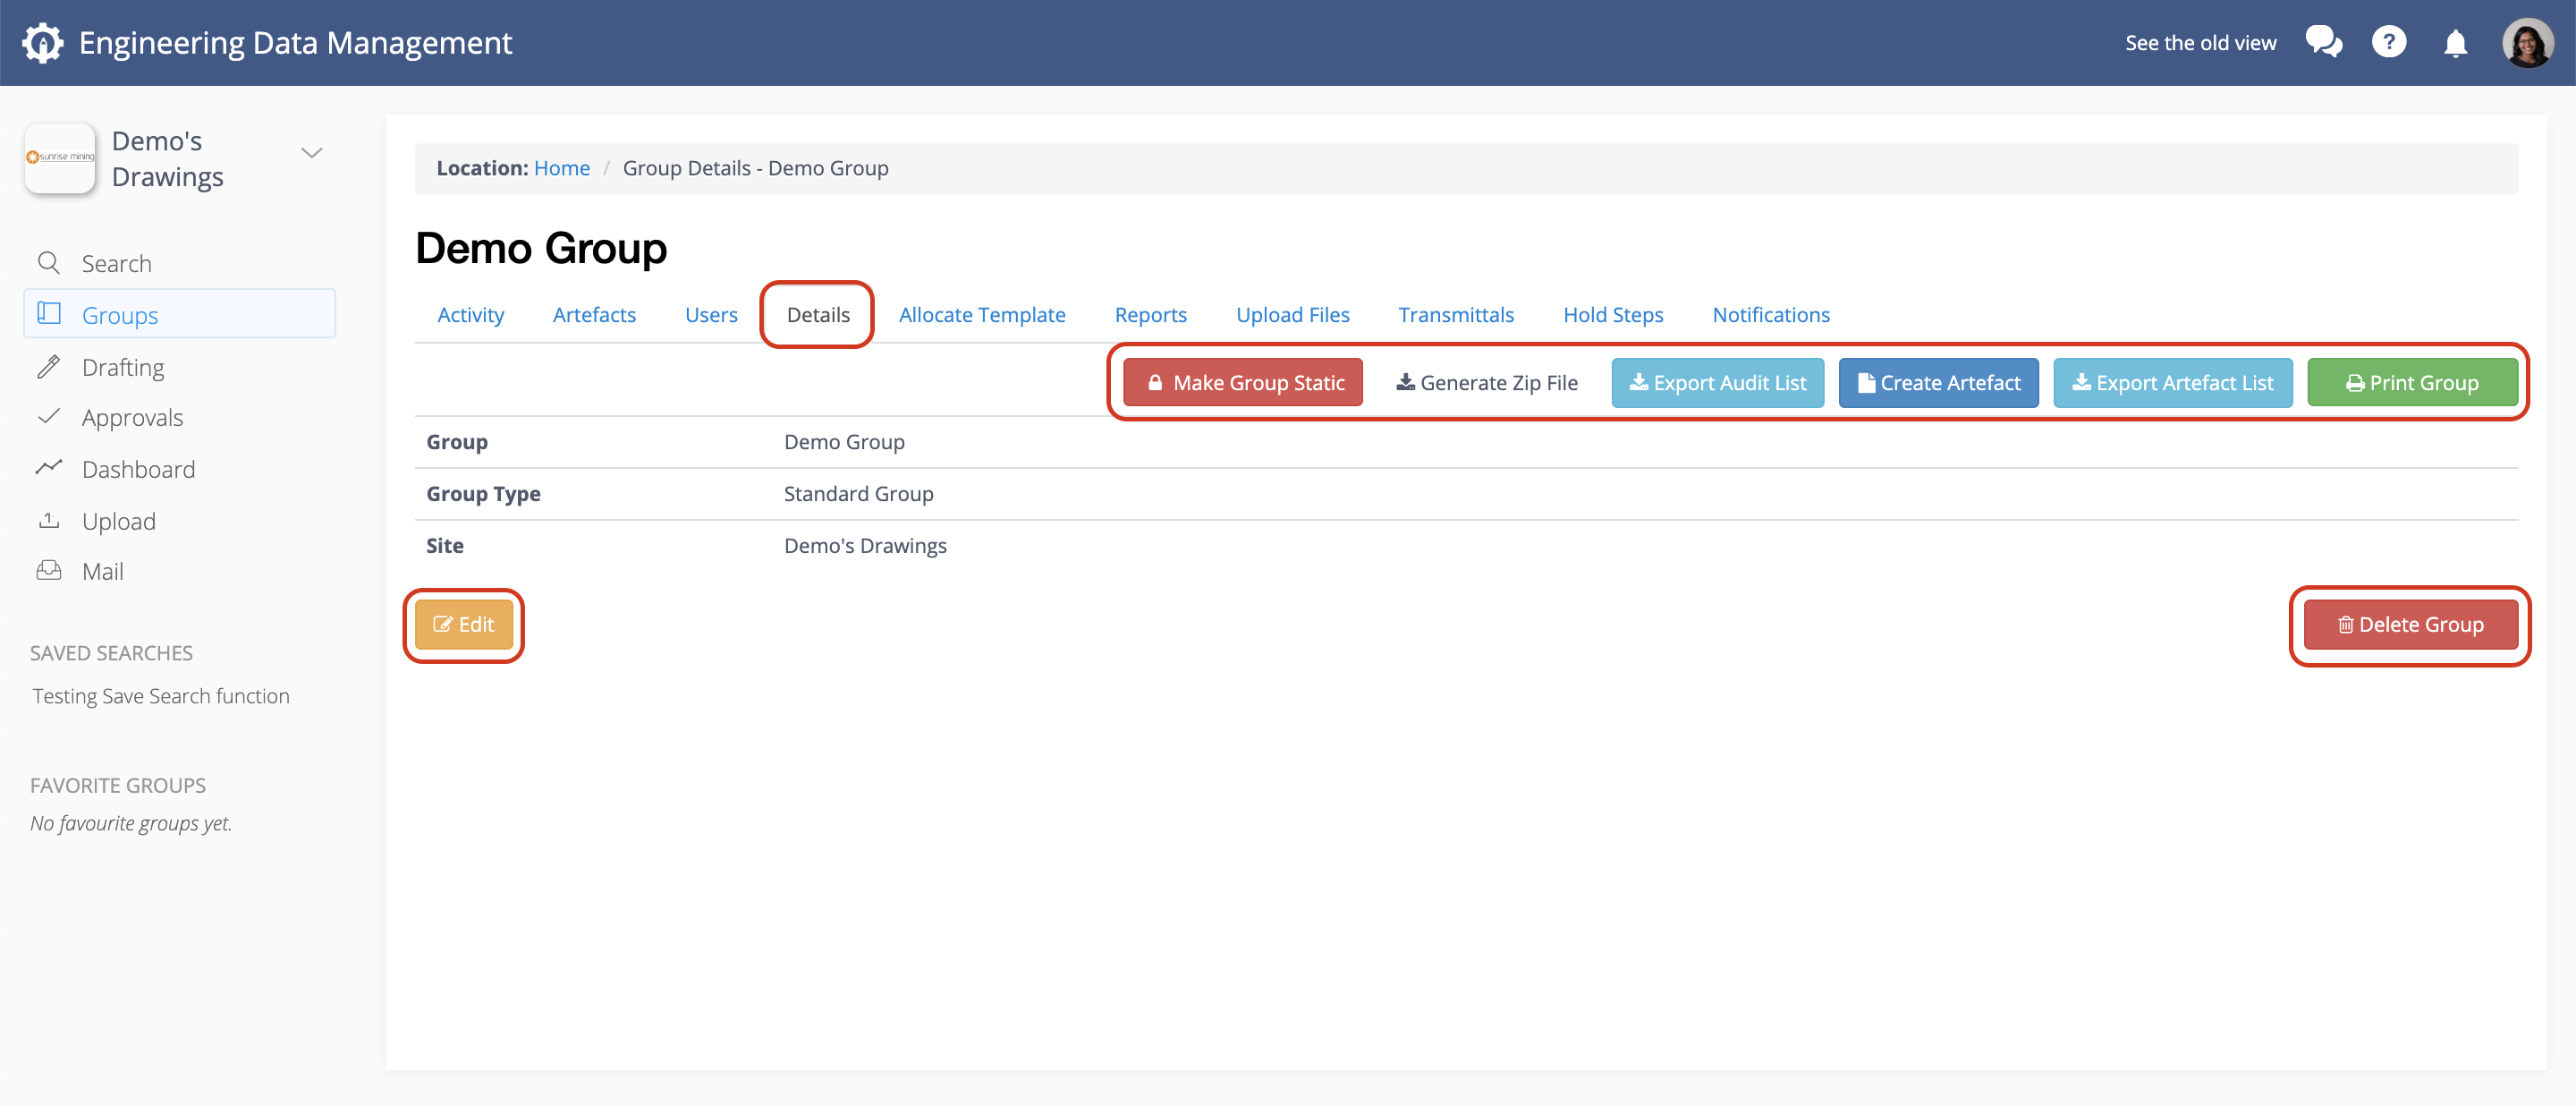
From here, you can click Edit to change the Group Name or extend the groups Expiry Date.
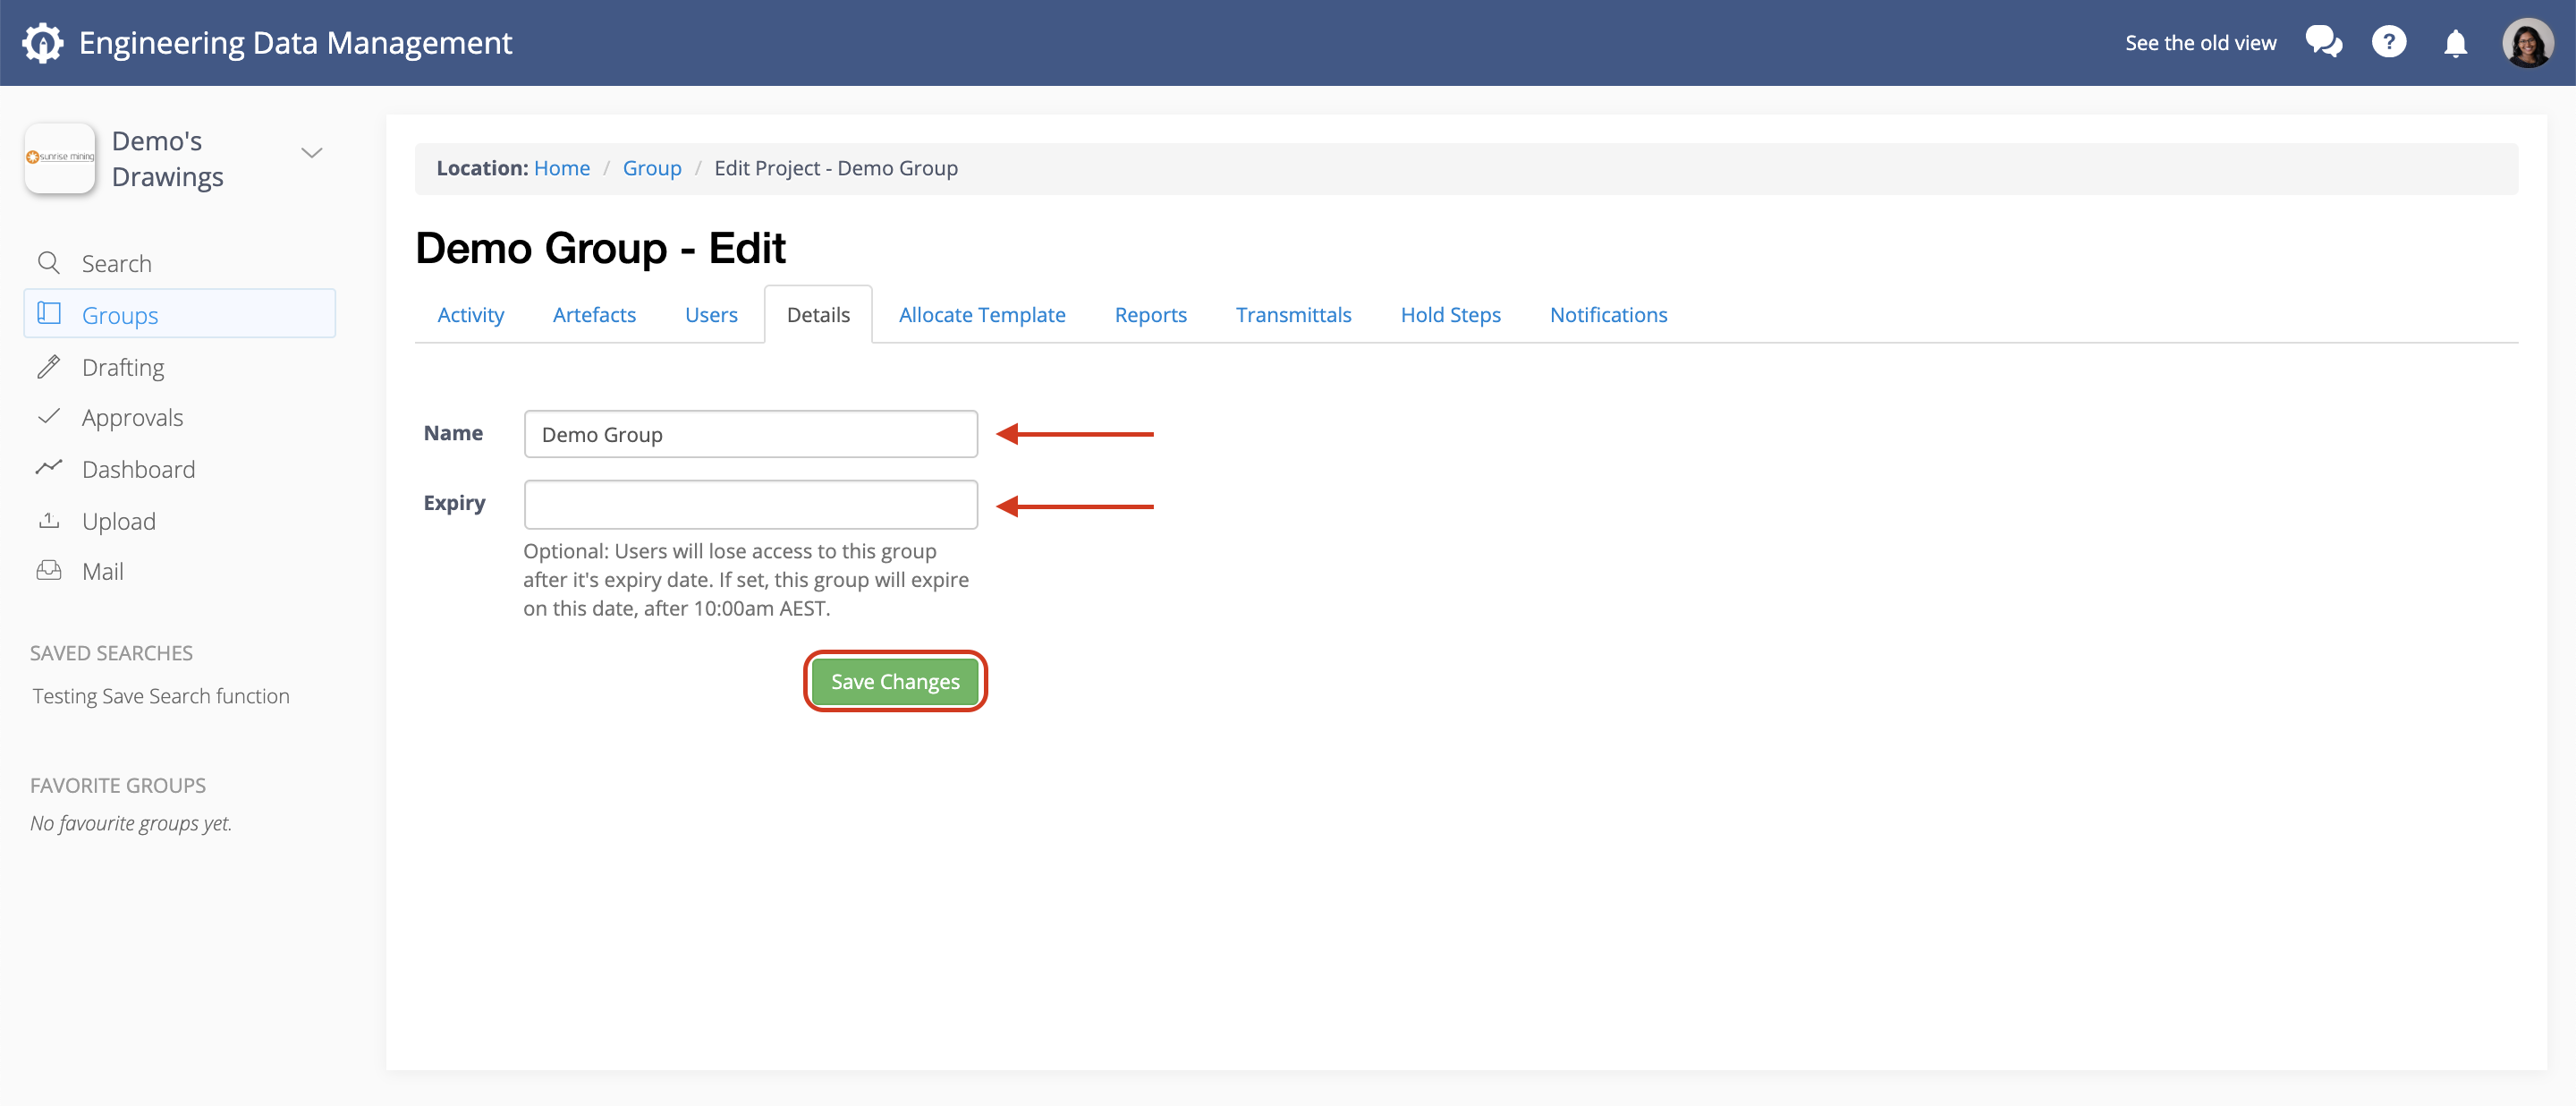
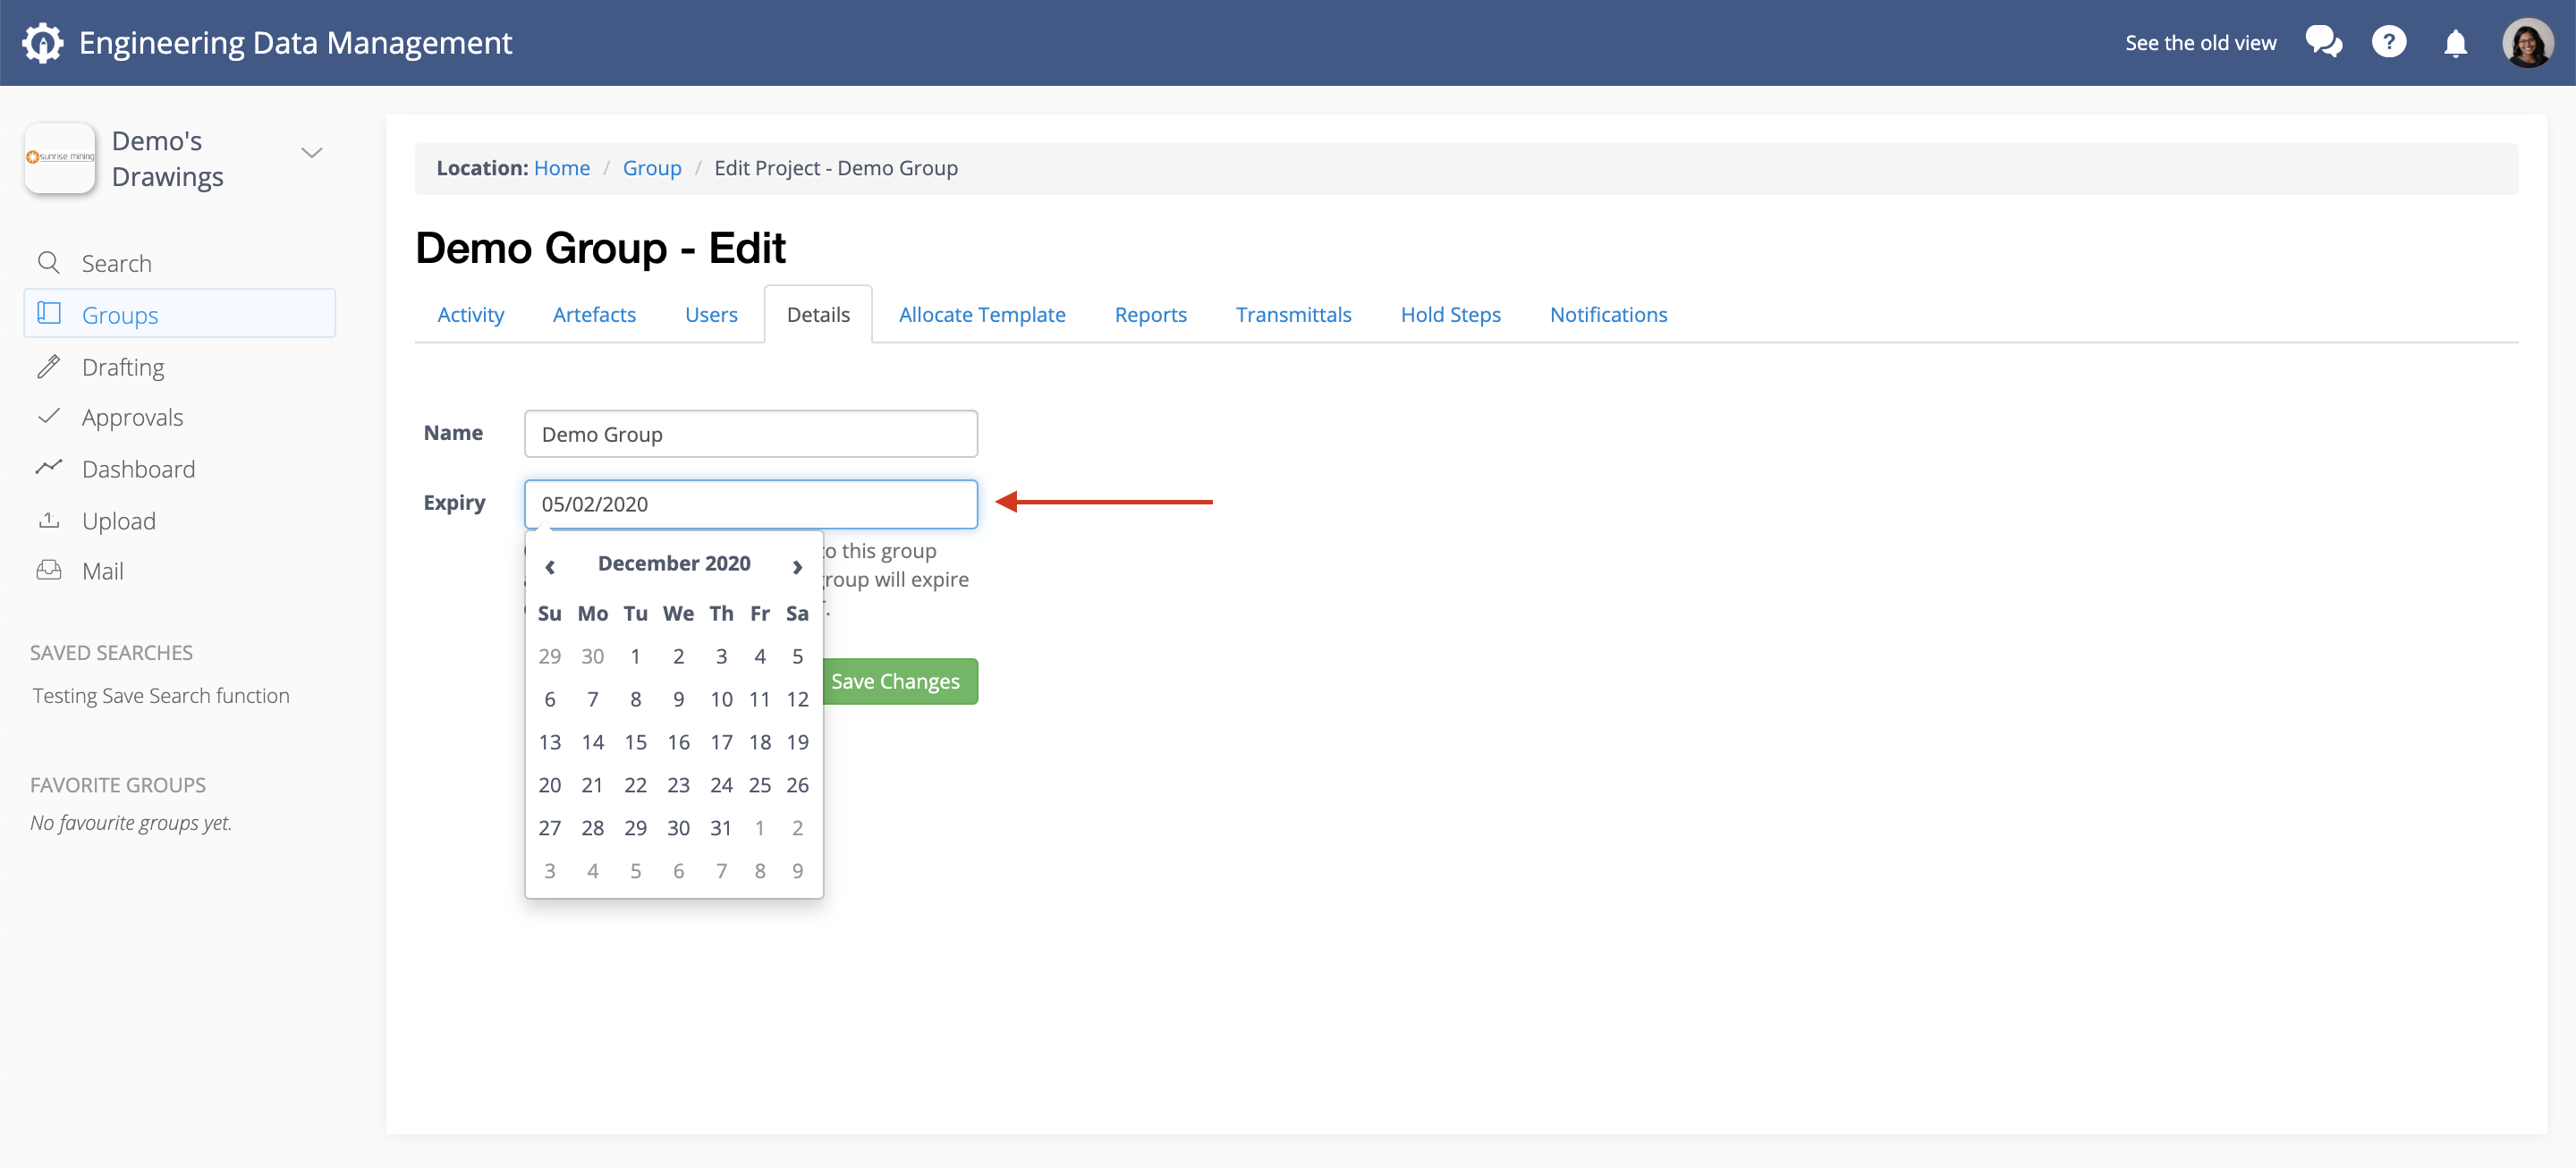
If expiry exists you can select a new date or add an expiry date (if one is not yet set) using the date picker.
To remove an expiry simply delete the date entry.
Click Save Changes when edit is complete to update the details. A green banner will indicate successful edit action.
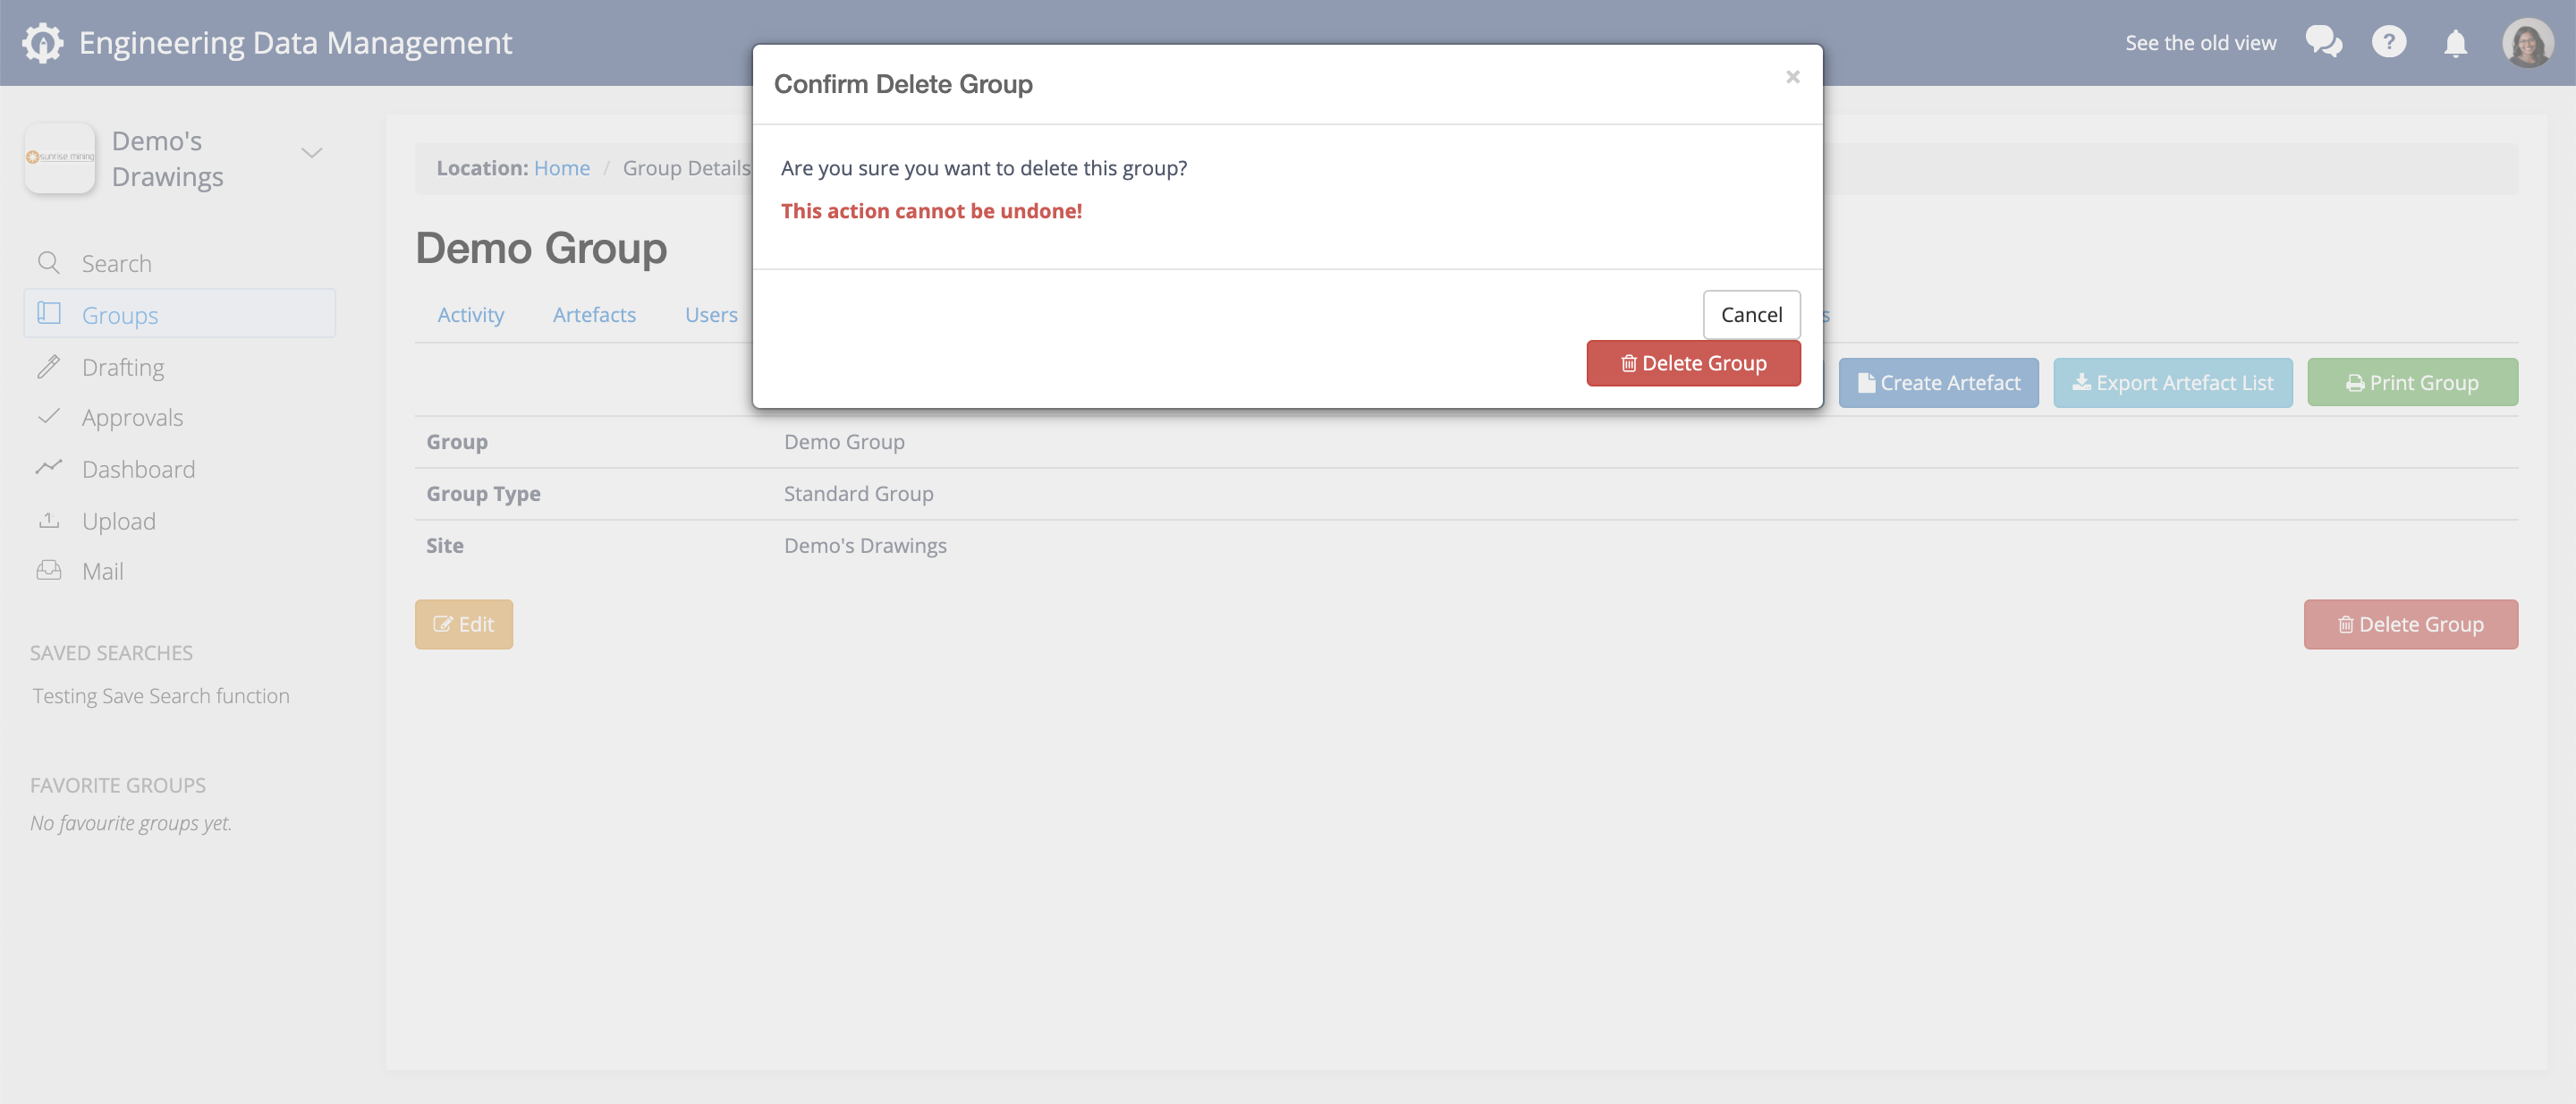
Delete Groups
Delete Group will remove the group from RedEye.
Note: Artefacts in the group that belong to other groups concurrently will not be removed from those groups.
Also in this view you can choose to export an Audit List or Artefact List, or Print all the artefacts in the group from this view. You can also choose to make the group a Static (permanent) group.
Group Notifications
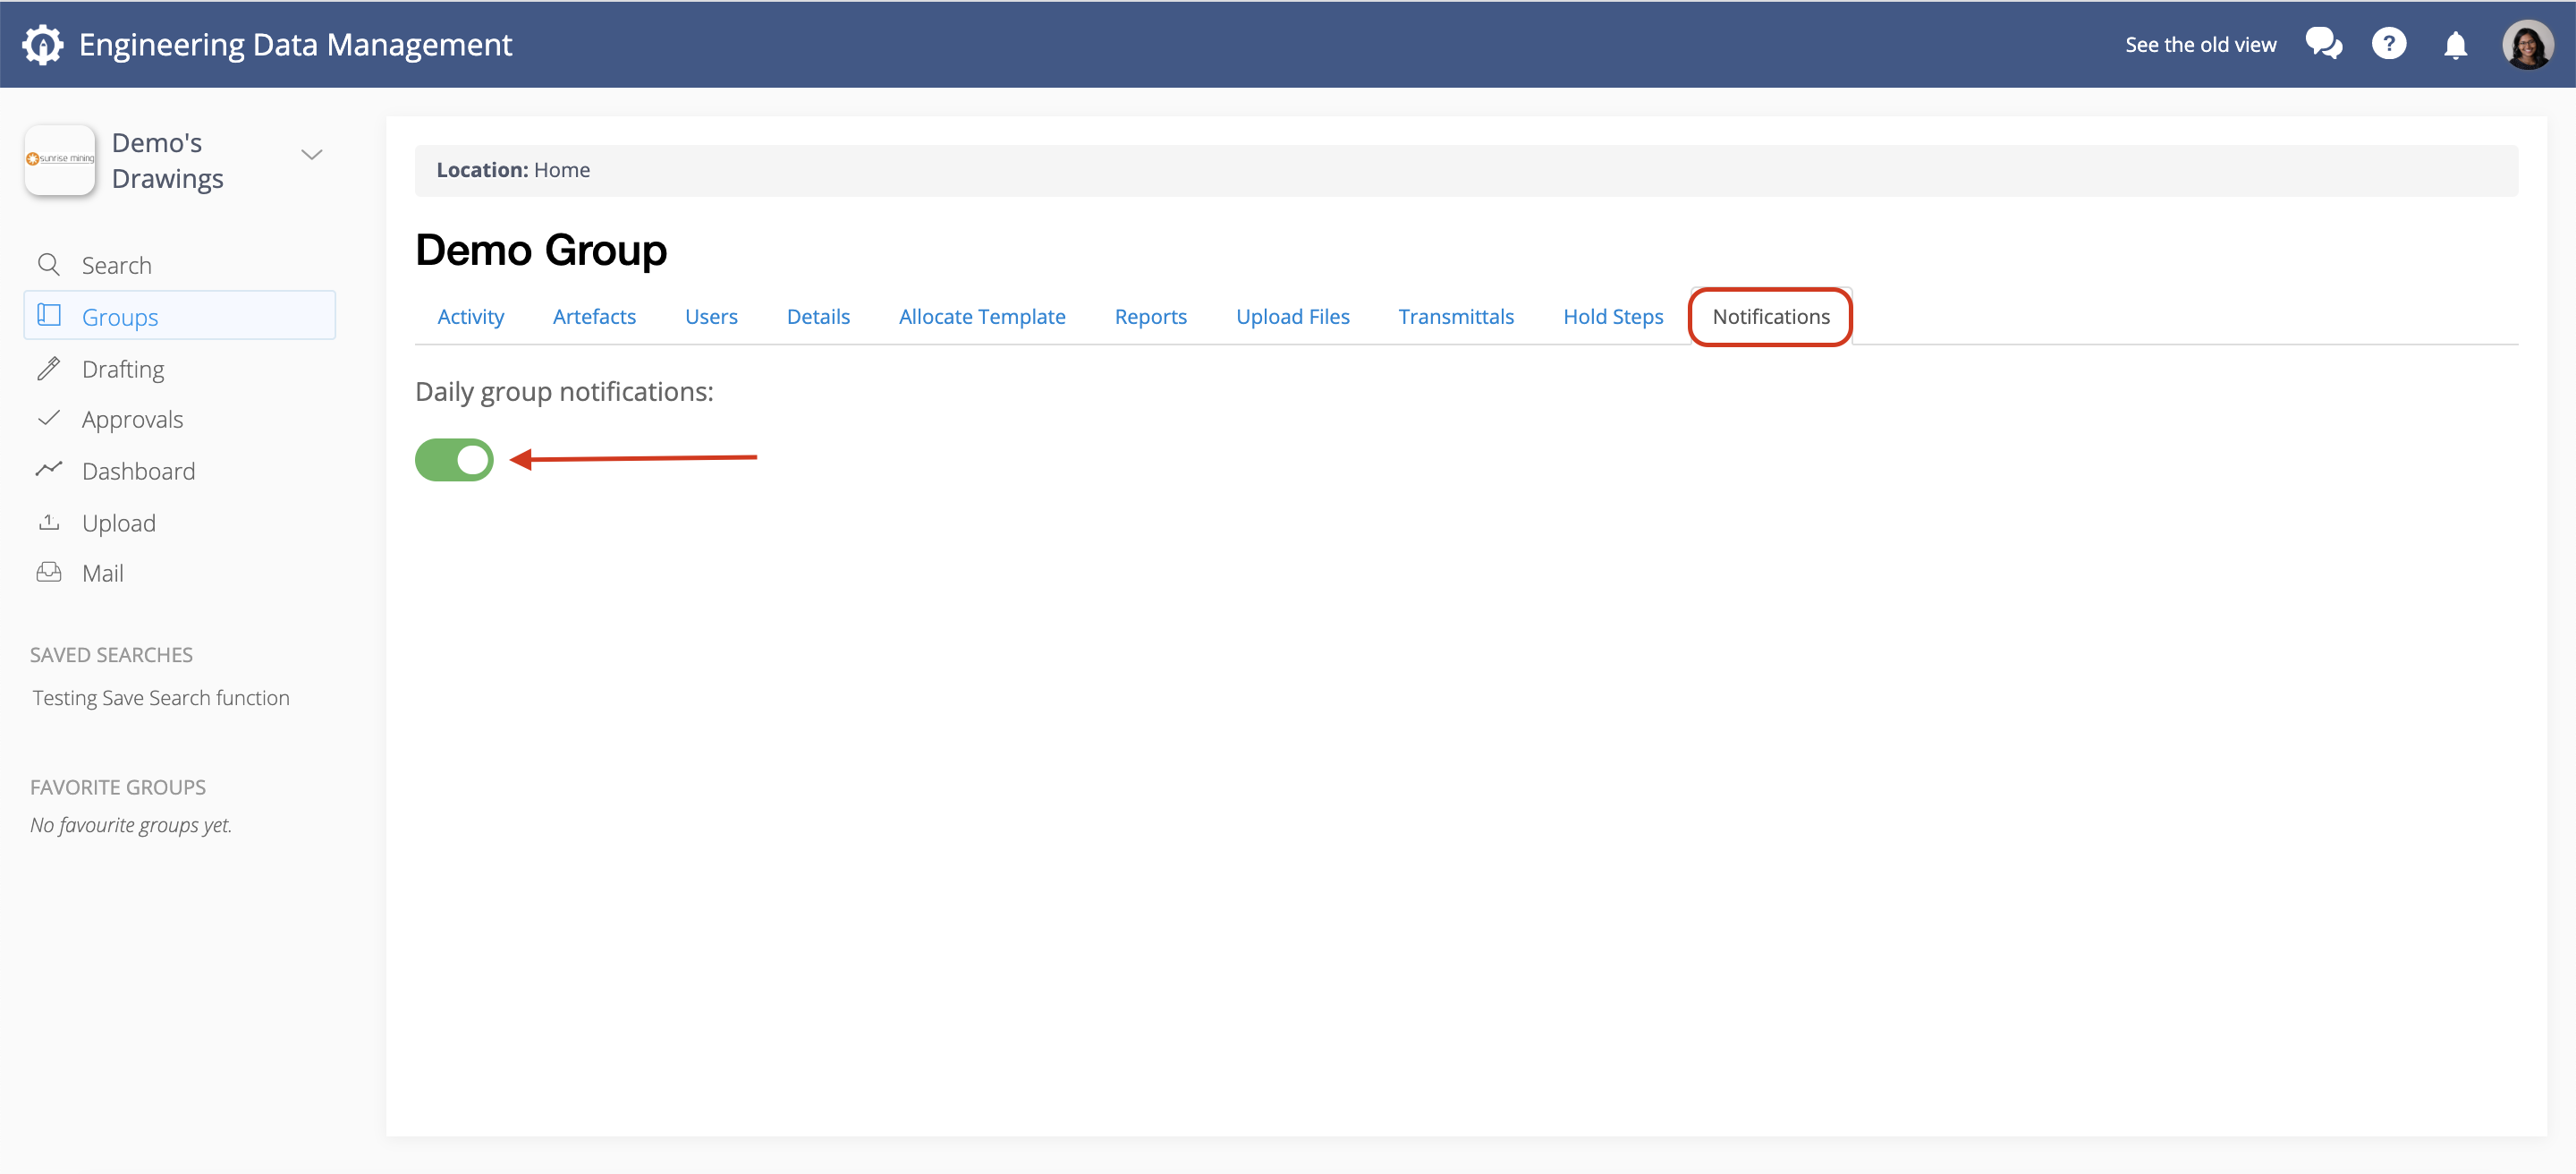
When you make a change to a drawing or document, it is important that everyone knows what is happening! In RedEyeDMS, you can use Group Notifications to automatically email Group level Users about artefacts that are added, removed, or changed in the Group. Make sure that all stakeholders are invited to a Group User, or Group Administrator role for the Group that you want to toggle Group Notifications on.
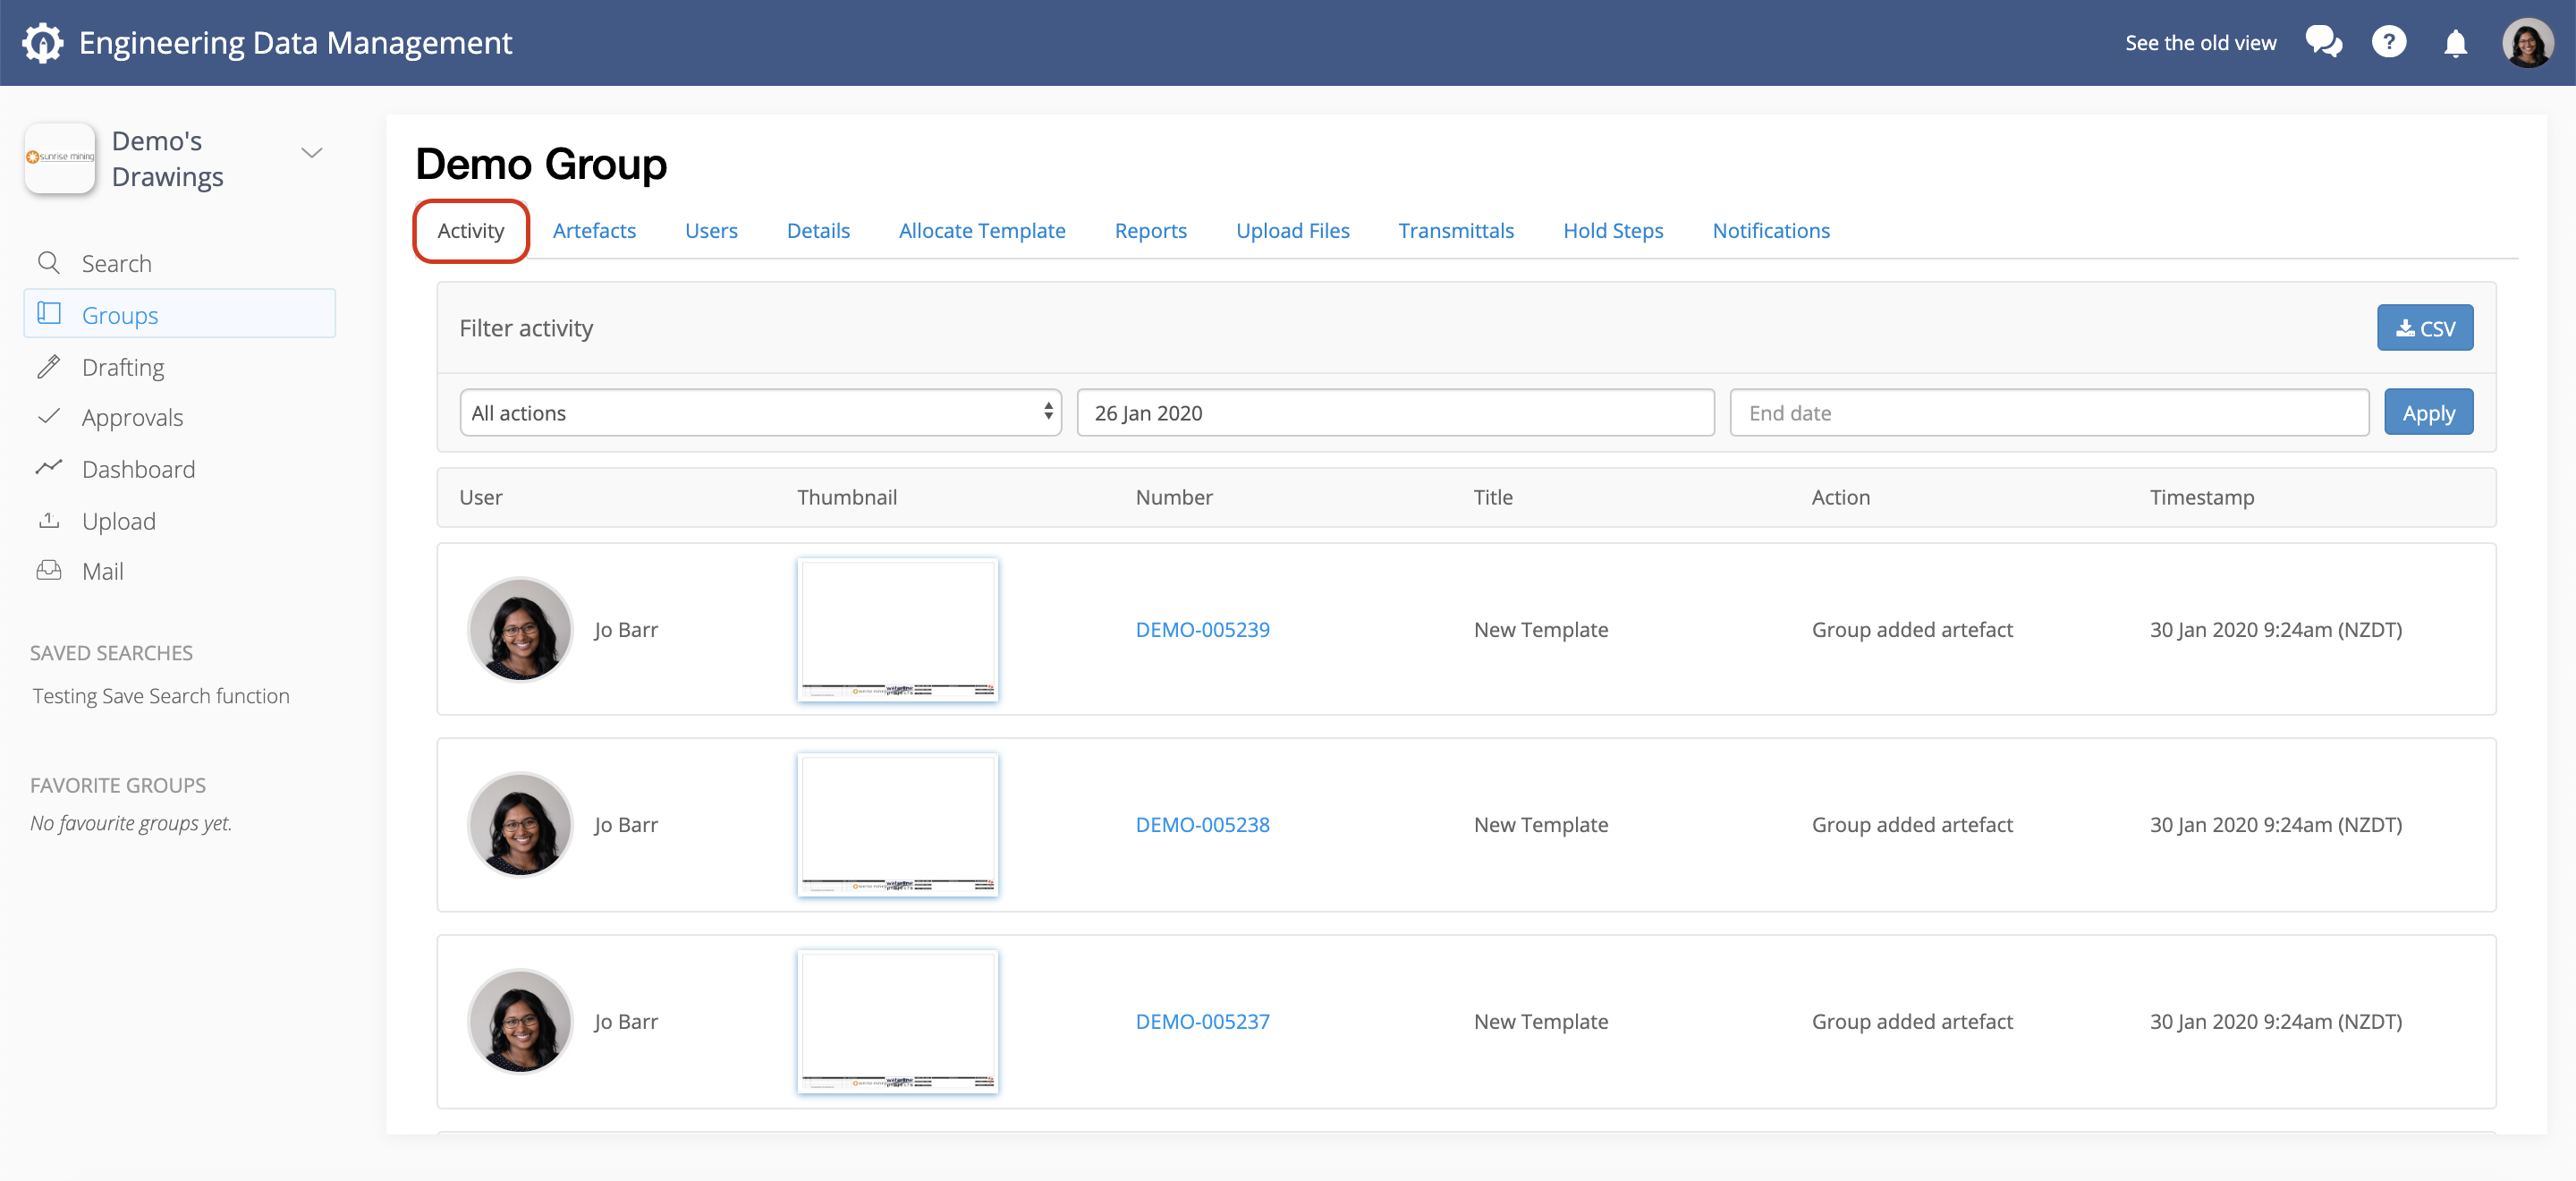
From the Notifications tab toggle the Daily group notificationON or OFF
Now from the Activity tab, you can see all the Actions that have affected Artefacts in the Group.
User Management
You can invite anyone to join a group, whether they are already a RedEye user or not. You can also choose from a variety of user roles that are specific to the selected group. You can even invite external contractors to view or modify drawings in a group, and their access to your artefacts is limited to the artefacts in this group.
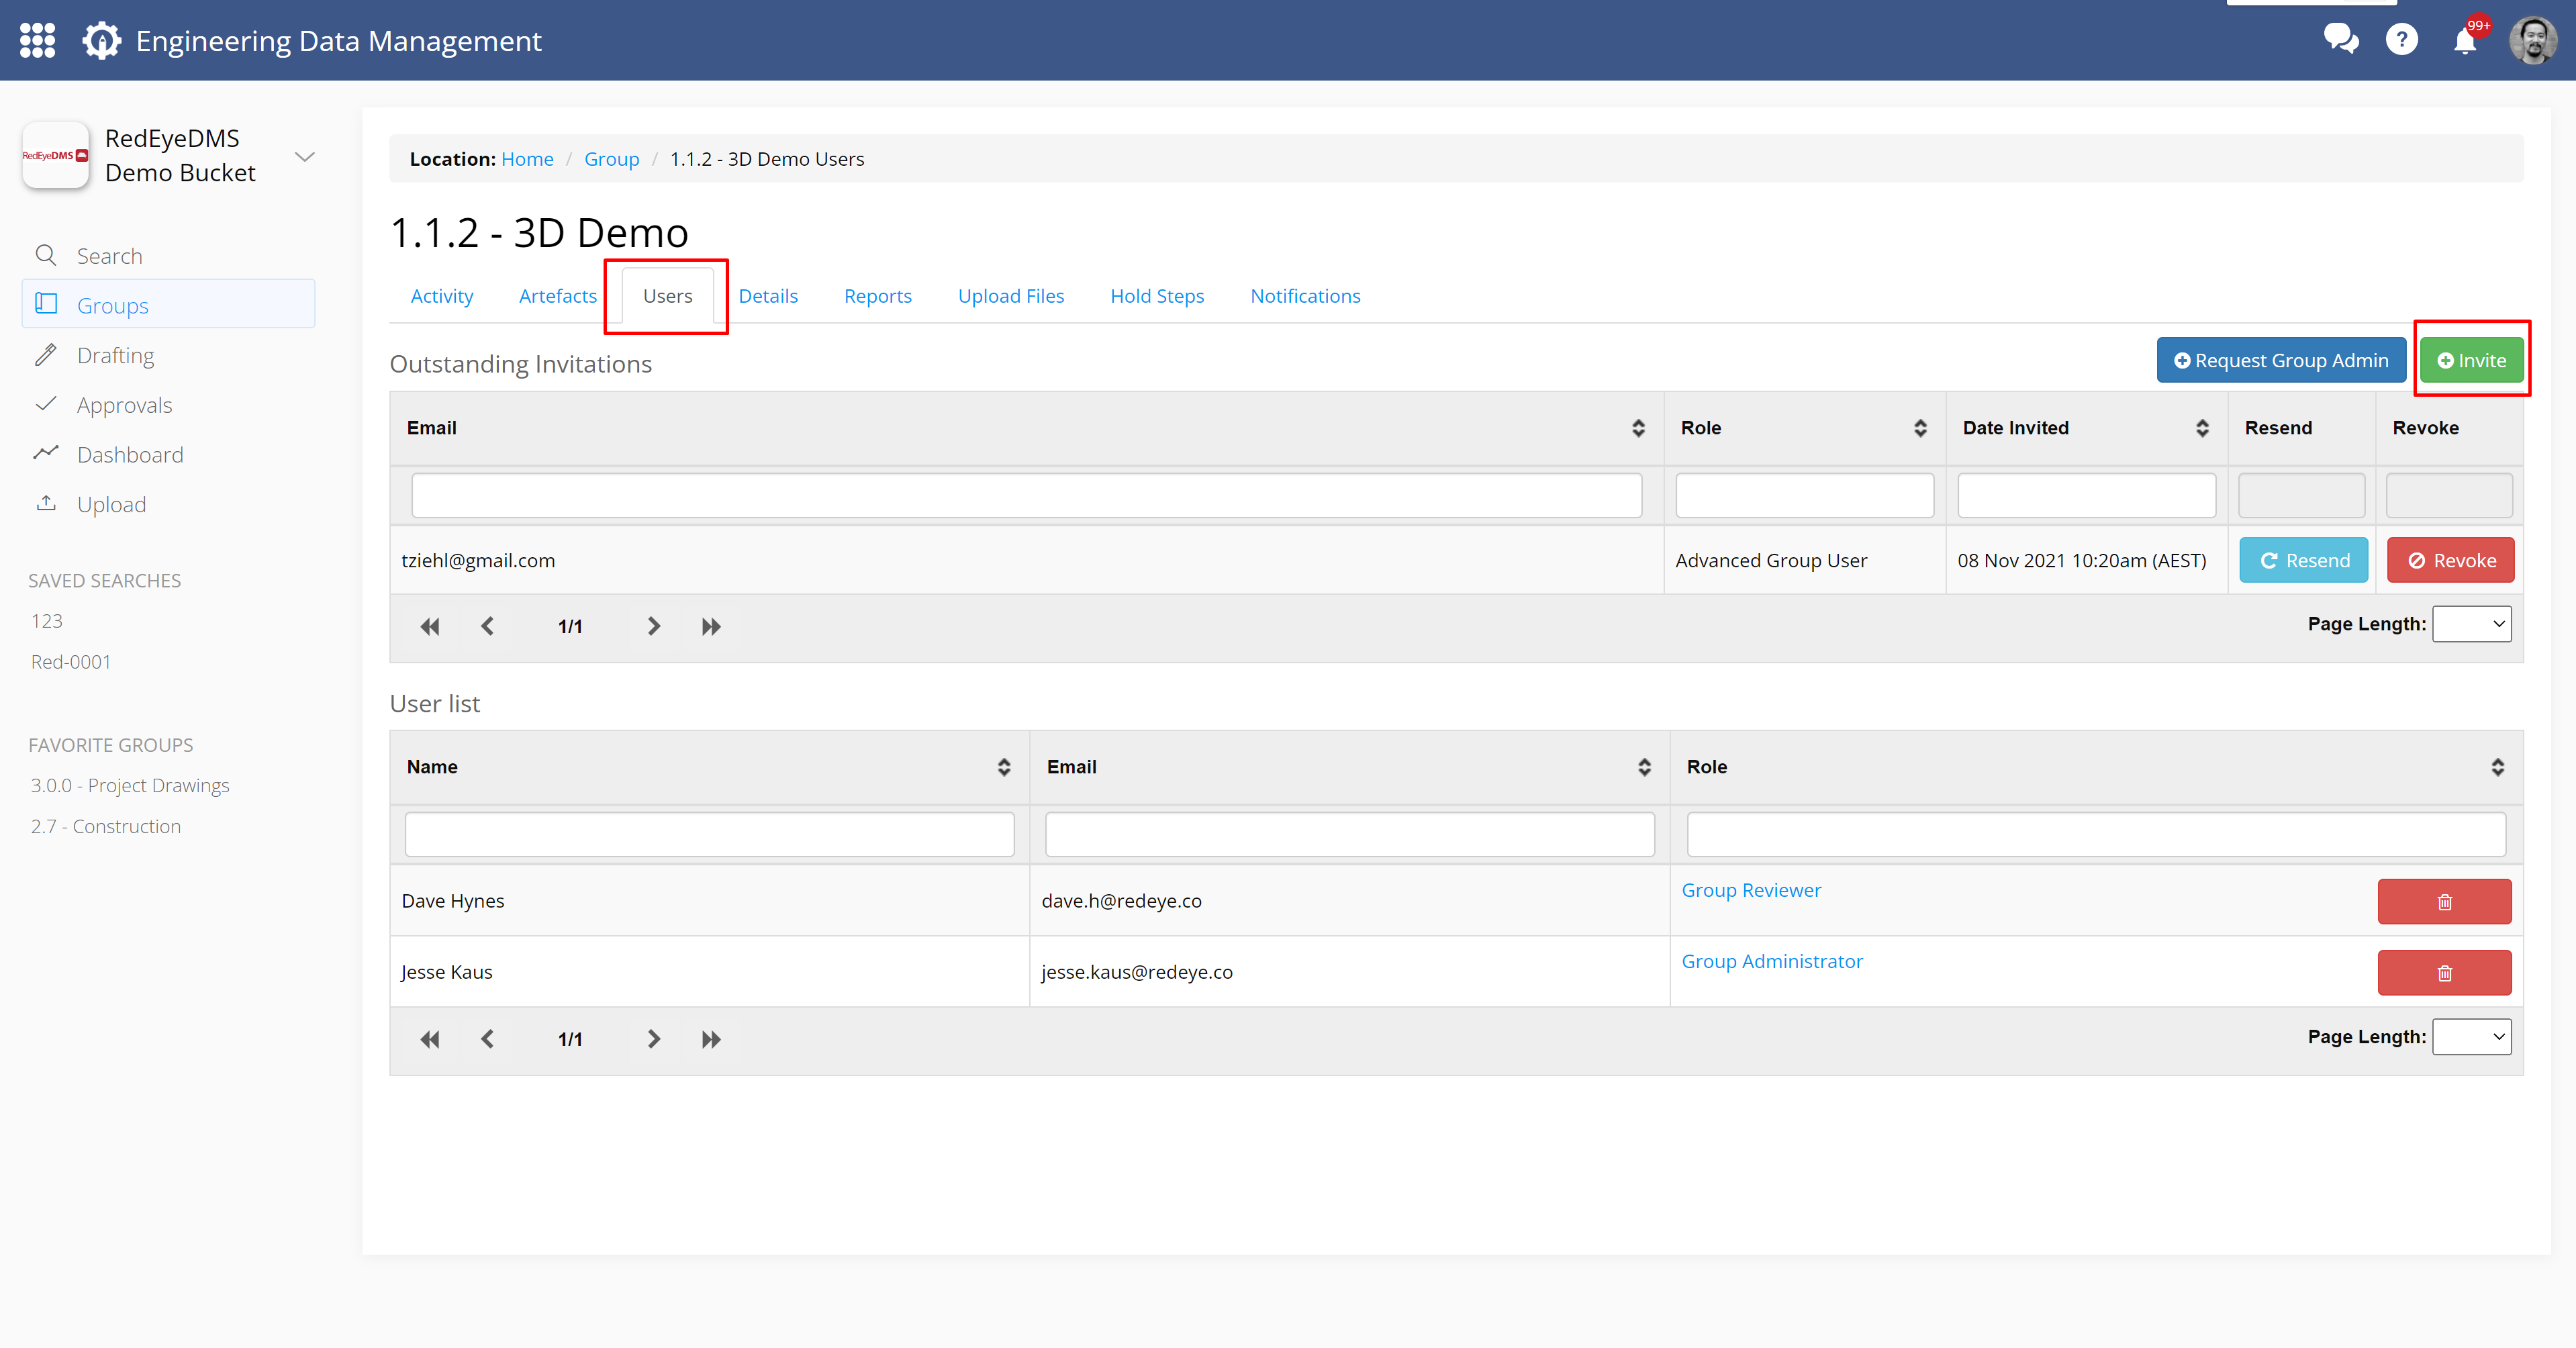
NOTE: Group Administrators and Bucket Administrators can invite users. Creating a group will automatically make you its Group Administrator. If you cannot see this view, you may not have permissions.
In the Group details page click the Users then click the Invite button.
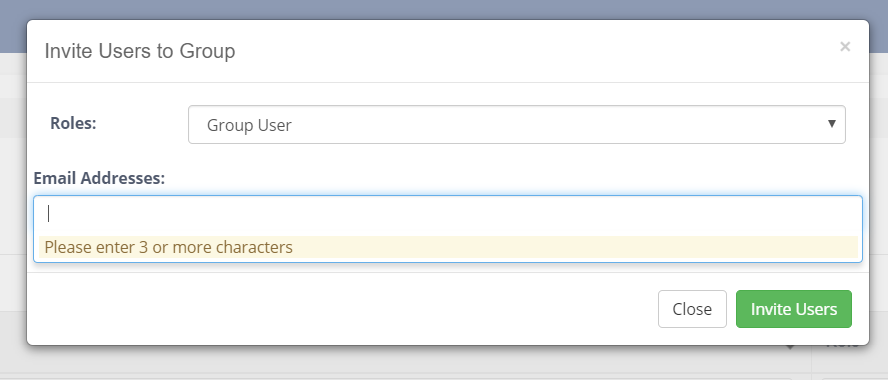
In this window, choose a role for this person from the 'Roles' drop down menu, then type in their email address (sample@redeye.co).
Once click Invite Users, an email invitation will be sent to the user, including a link to accept the invitation. If the user is not already a RedEye user, they will be prompted to create an account.
Re-Send and Revoke Invitations, or Remove Group User access
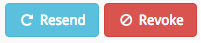
With intives that are yet to be accepted, you can choose to take further actions in two ways. These are to Resend, if the user has not accepted your invitation yet, or Revoke the invitation to remove the users access to your group before they accept.
The Group Users window is split into two sub-sections. The first is Outstanding Invitations, and from here you can Resend or Revoke invitations by simply clicking the applicable button next to the users name.
The second sub-section is the ser List. In this list you can see all the users with access to your group, and their Group Roles. They will have a single line entry for each group role that they possess, and you can use the filter boxes to filter the list. To remove a users access from the group, simply click the Delete button on the right side of their line.

Add or Remove an Artefact from a Group
Note that you'll need to be a Group Administrator or Bucket Administrator or Bucket User role to be able to perform the below actions.
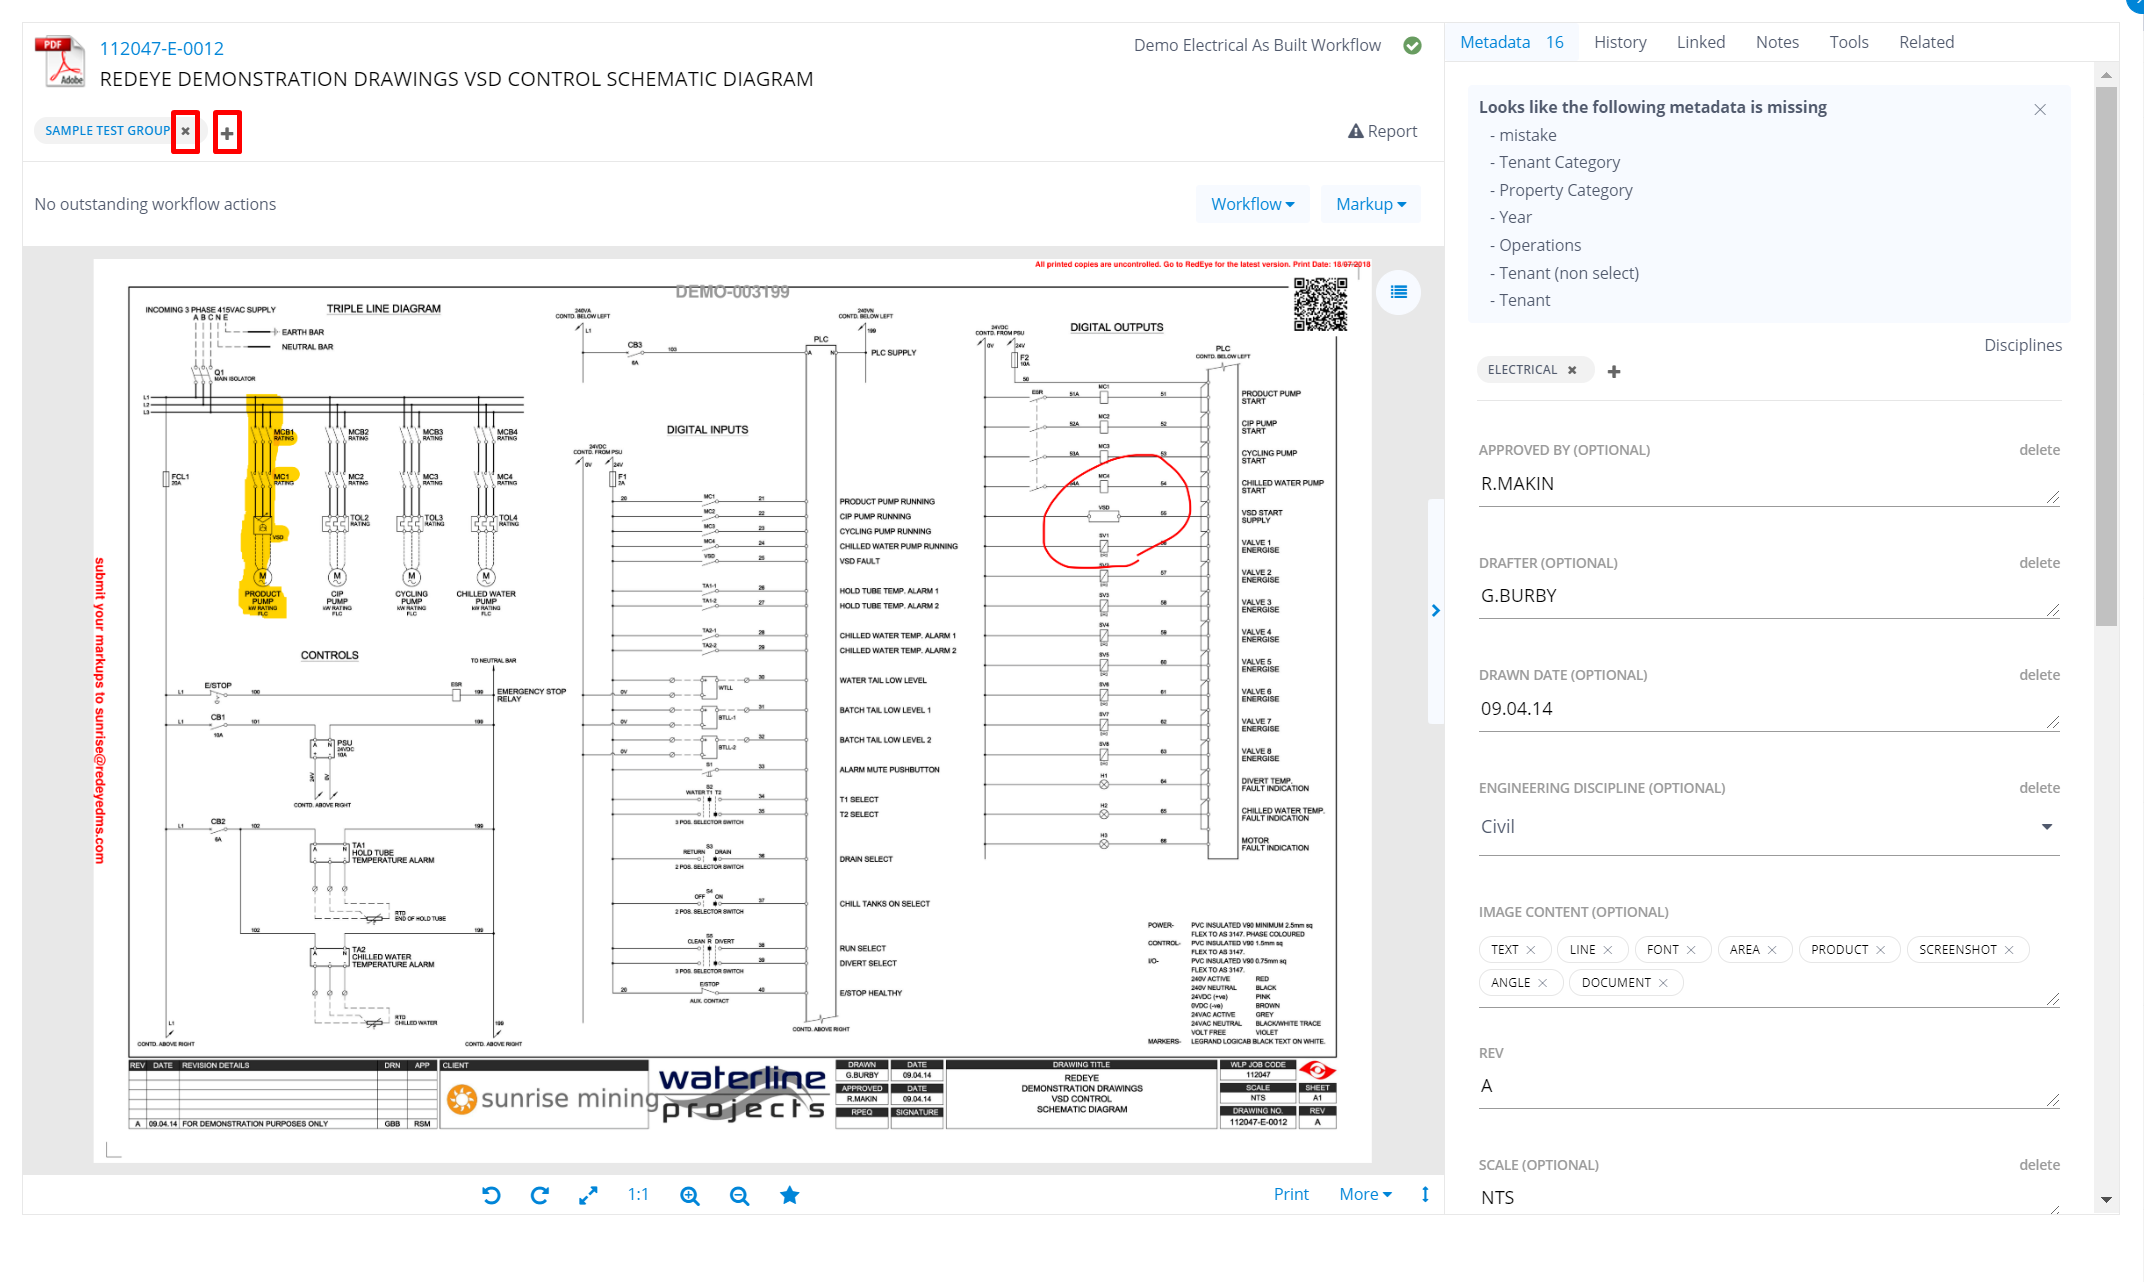
You can add or remove a group to an artefact through the artefact page by using the x and + buttons located under the artefact name.
To do it in bulk, in the Search page, select the checkbox for each of the artefacts you want to add or remove from a group. This will add the artefacts to the Collection, so that you can perform bulk actions.
Next, on the bottom left, click on the collection button. You can now view all of the selected artefacts in your collection.
Click the Actions button, located at the bottom left-hand side of the page. Choose Group then Add Group or Remove Group.
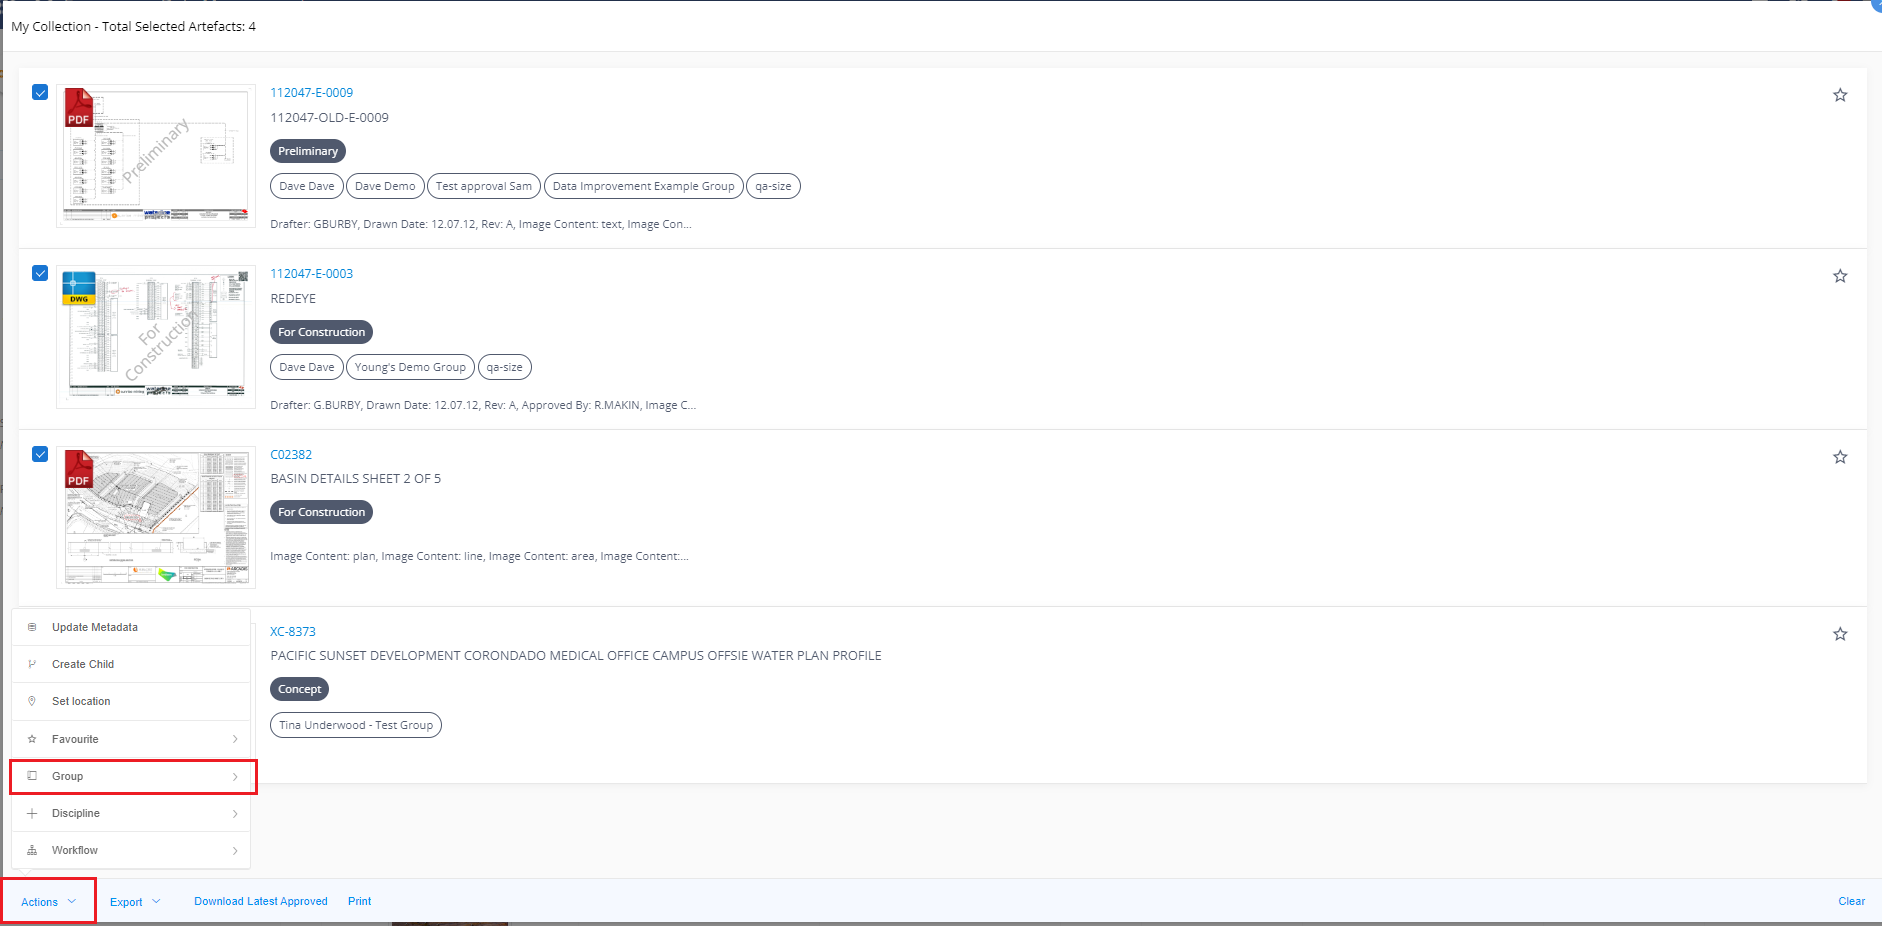
A pop-up screen will appear for you to select which group to apply the changes to.