Markup Tool Guide
- Hard Copy
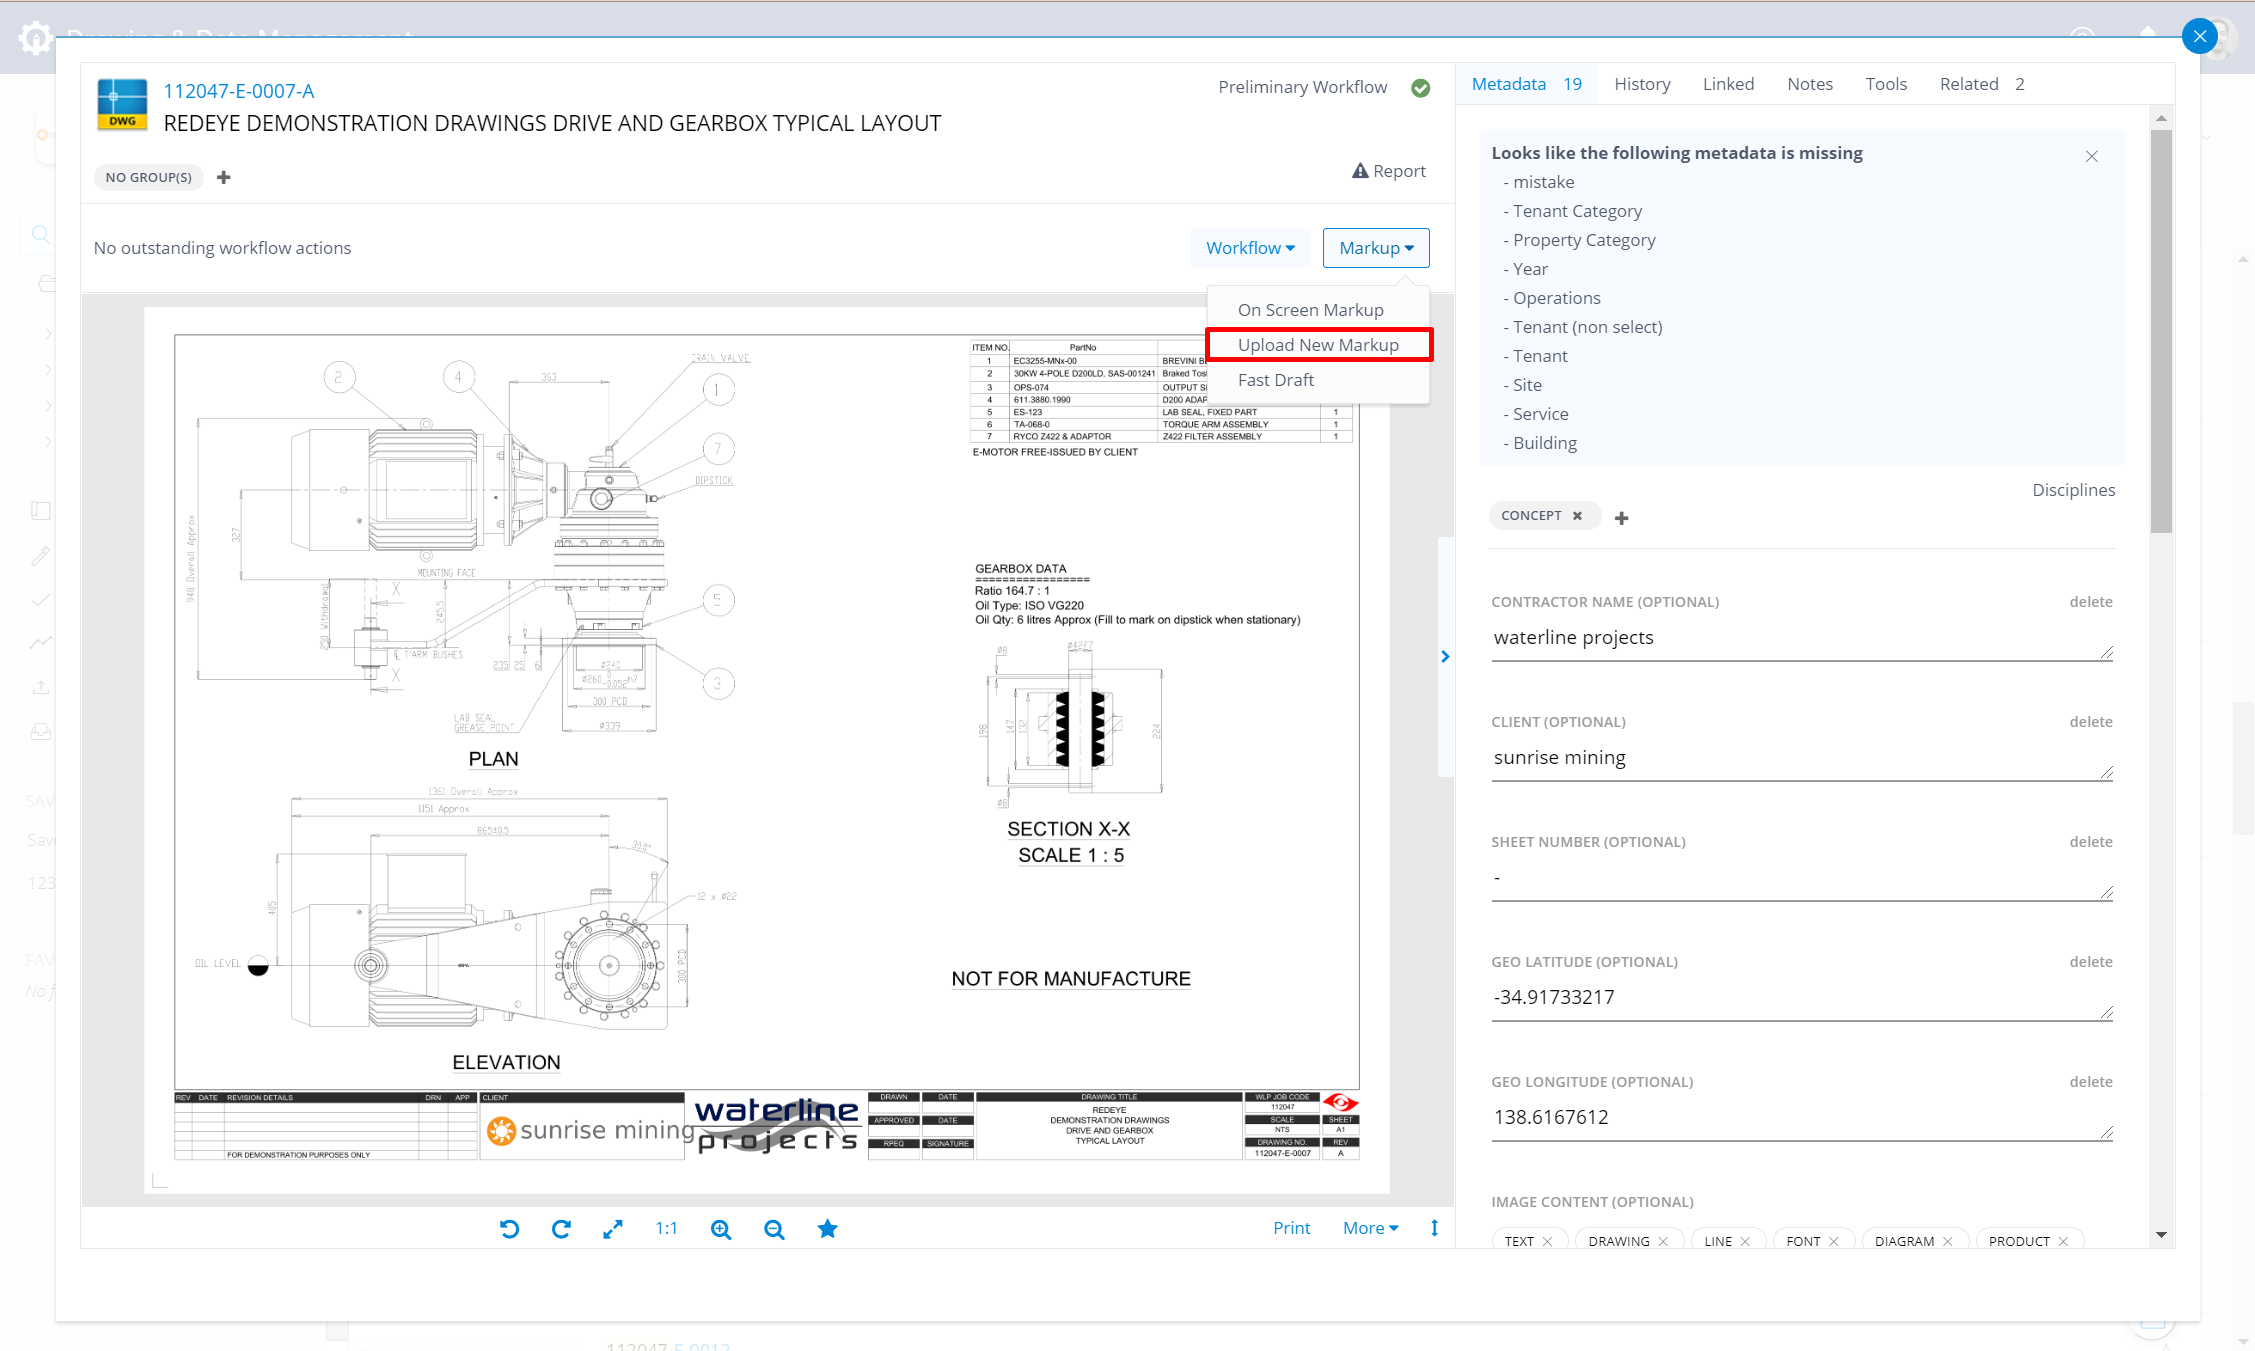
- Upload New Markup
- On-Screen Markup Tool
- Markup Tool Descriptions
- Expanded Stamp Functionality
Marking up drawings is an essential process in the drawing lifecycle by which changes are added to improve or correct the design, notify defects or faults or to match the design to the finished physical asset in the case of As Built drawings. RedEye allows end users and where configured, Reviewers and Approvers, to mark up “online” on the go using our powerful On-Screen Markup Tool, which is a revolutionary approach using cloud technology to streamline this important process.
And now it is even easier with our mobile apps, unleashing the power of mobility!
This tool is available on both web and mobile formats, and this guide concentrates on the web version (see below). Though, we also recognize that not everyone works the same way, so we have provided more than one way to get your markups into RedEye!
Hard Copy:
Users who prefer the traditional “offline” pen and paper method of physically marking up drawings may do so with any drawing printed from RedEye. Any drawings that are printed from RedEye are marked with a QR code, enabling you to simply scan-to-email your completed hard copy markups to the email address watermarked on your printed drawing. Using the information provided on this unique QR code, RedEye will automatically place your markups where they need to go.
Upload New Markup:
If you prefer to use a third party application to mark up electronically RedEye also supports you! From the artefact workflow bar, simply click the Upload New Markup button and select a file from your computer or network.File types accepted through Upload New Markup: PDF, PNG, JPG
Upload New Markup is NOT available during Review/Approve page markup actions, On Screen markings only during Reviews/Approvals
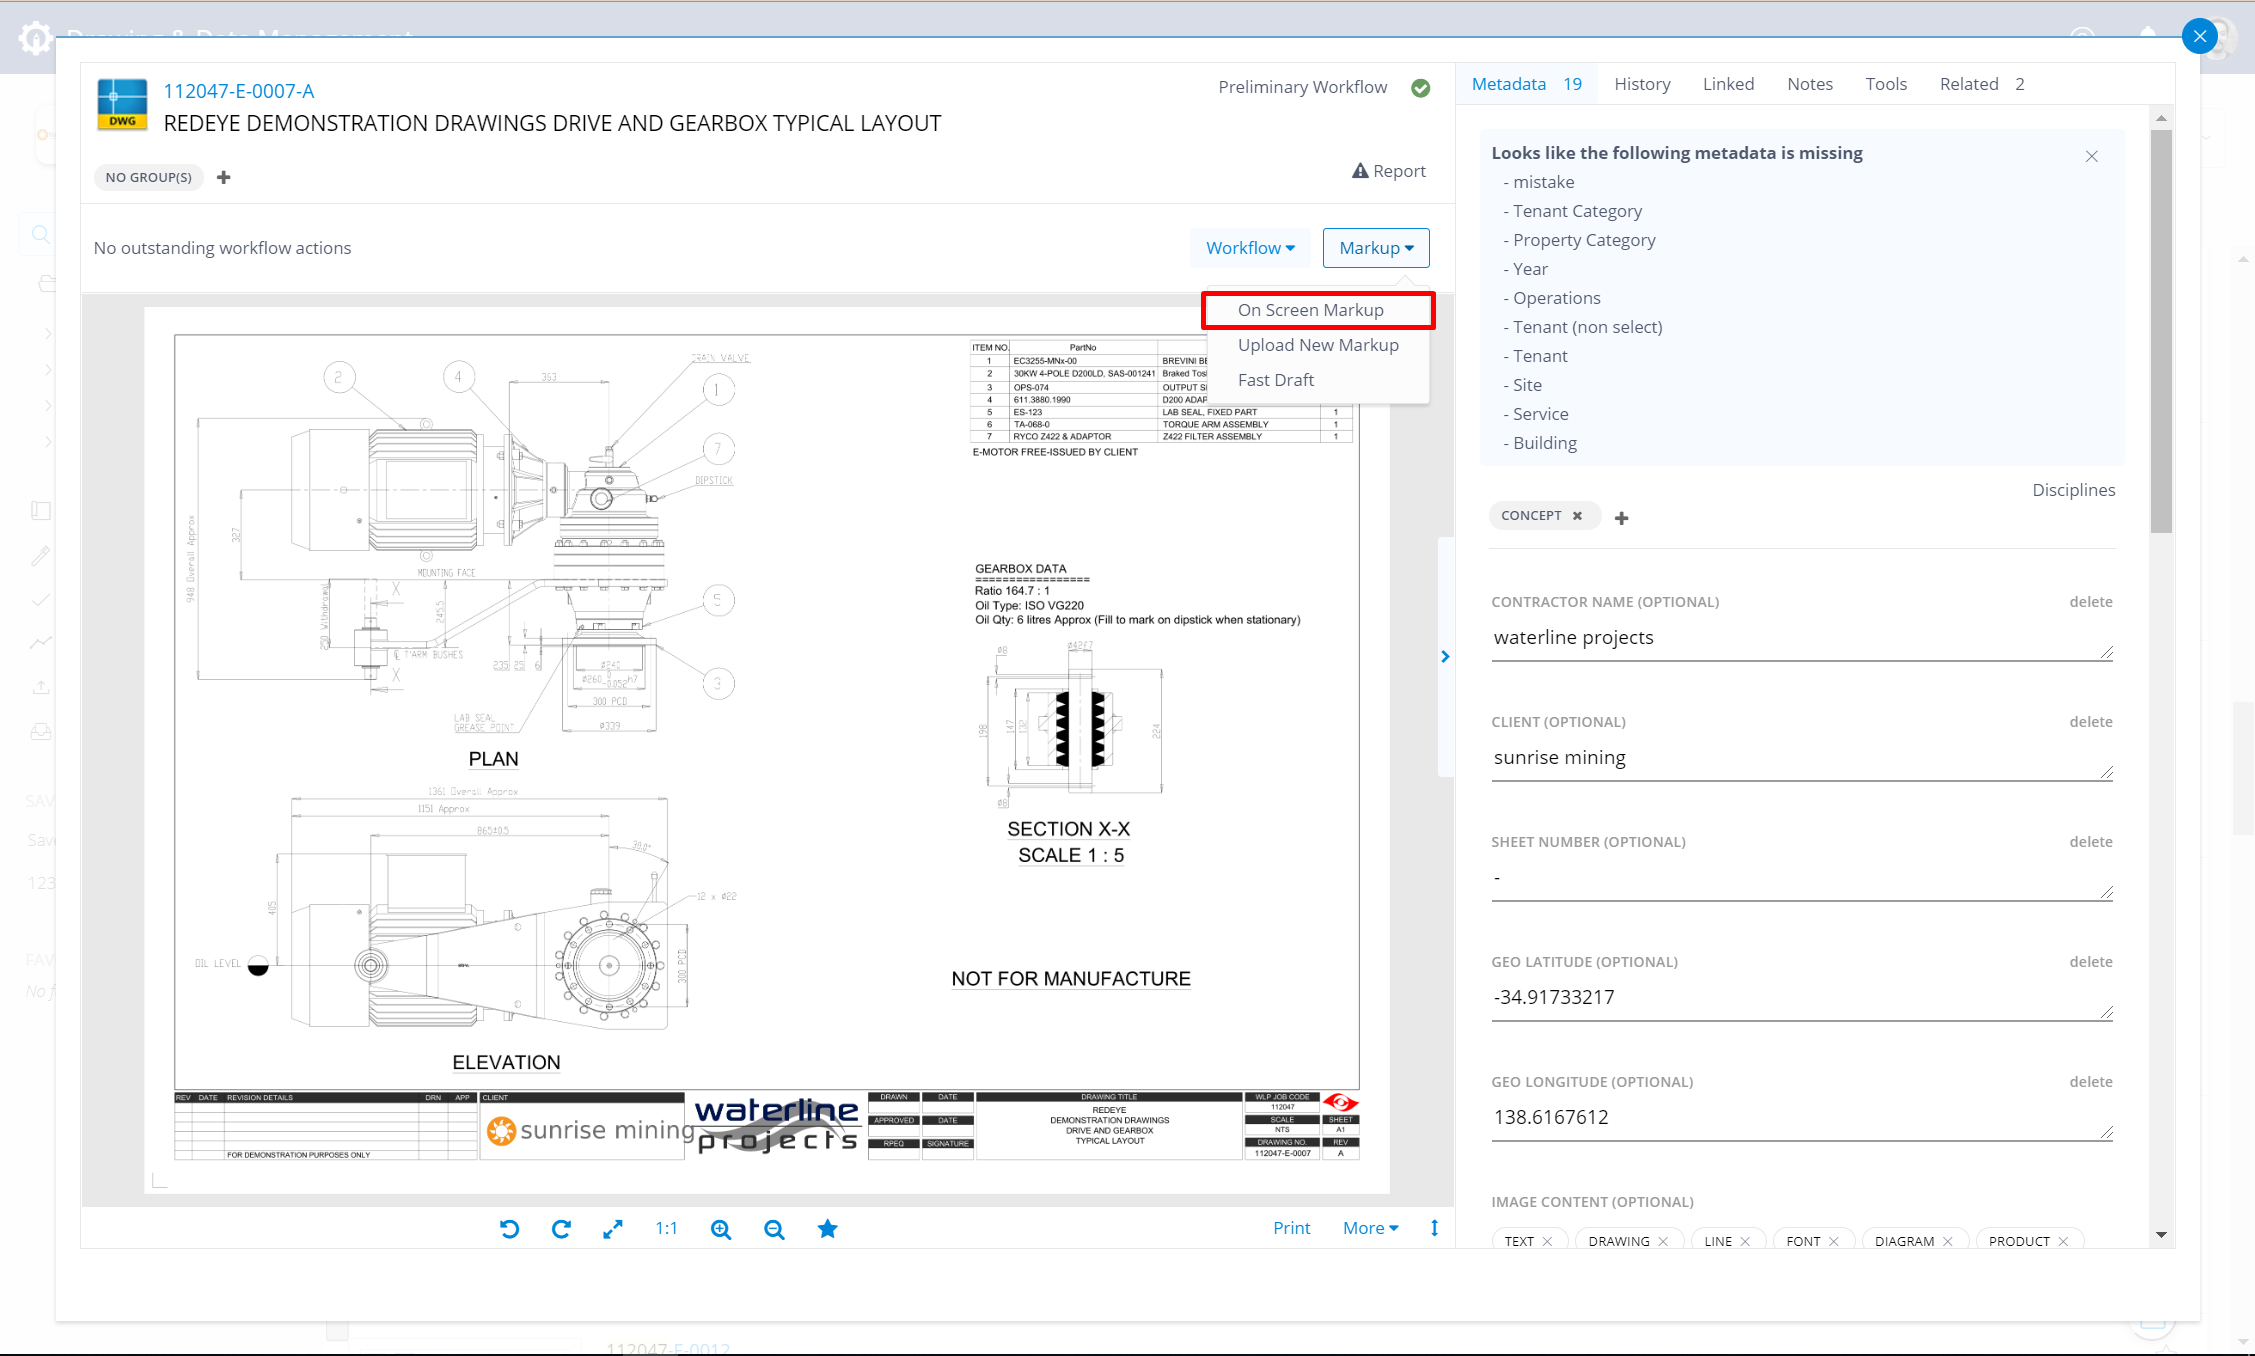
On-Screen Markup Tool:
For a seamless in-app experience, you can use the On Screen Markup Tool.
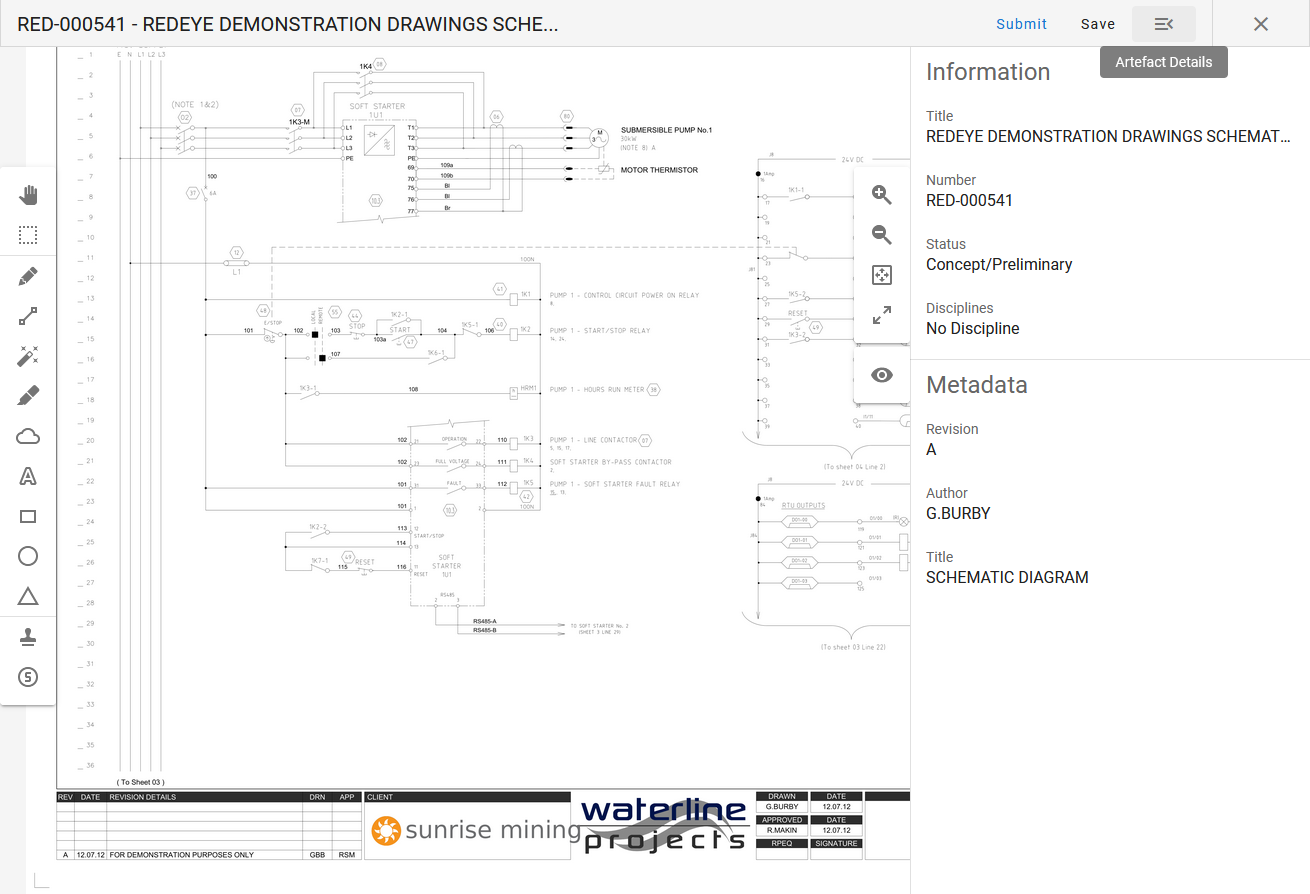
To start using the On Screen Markup Tool, find your drawing with our powerful search tool, then open the drawing to access the Artefact Page. Next, select Markup from the Workflow Bar and then On Screen Markup.
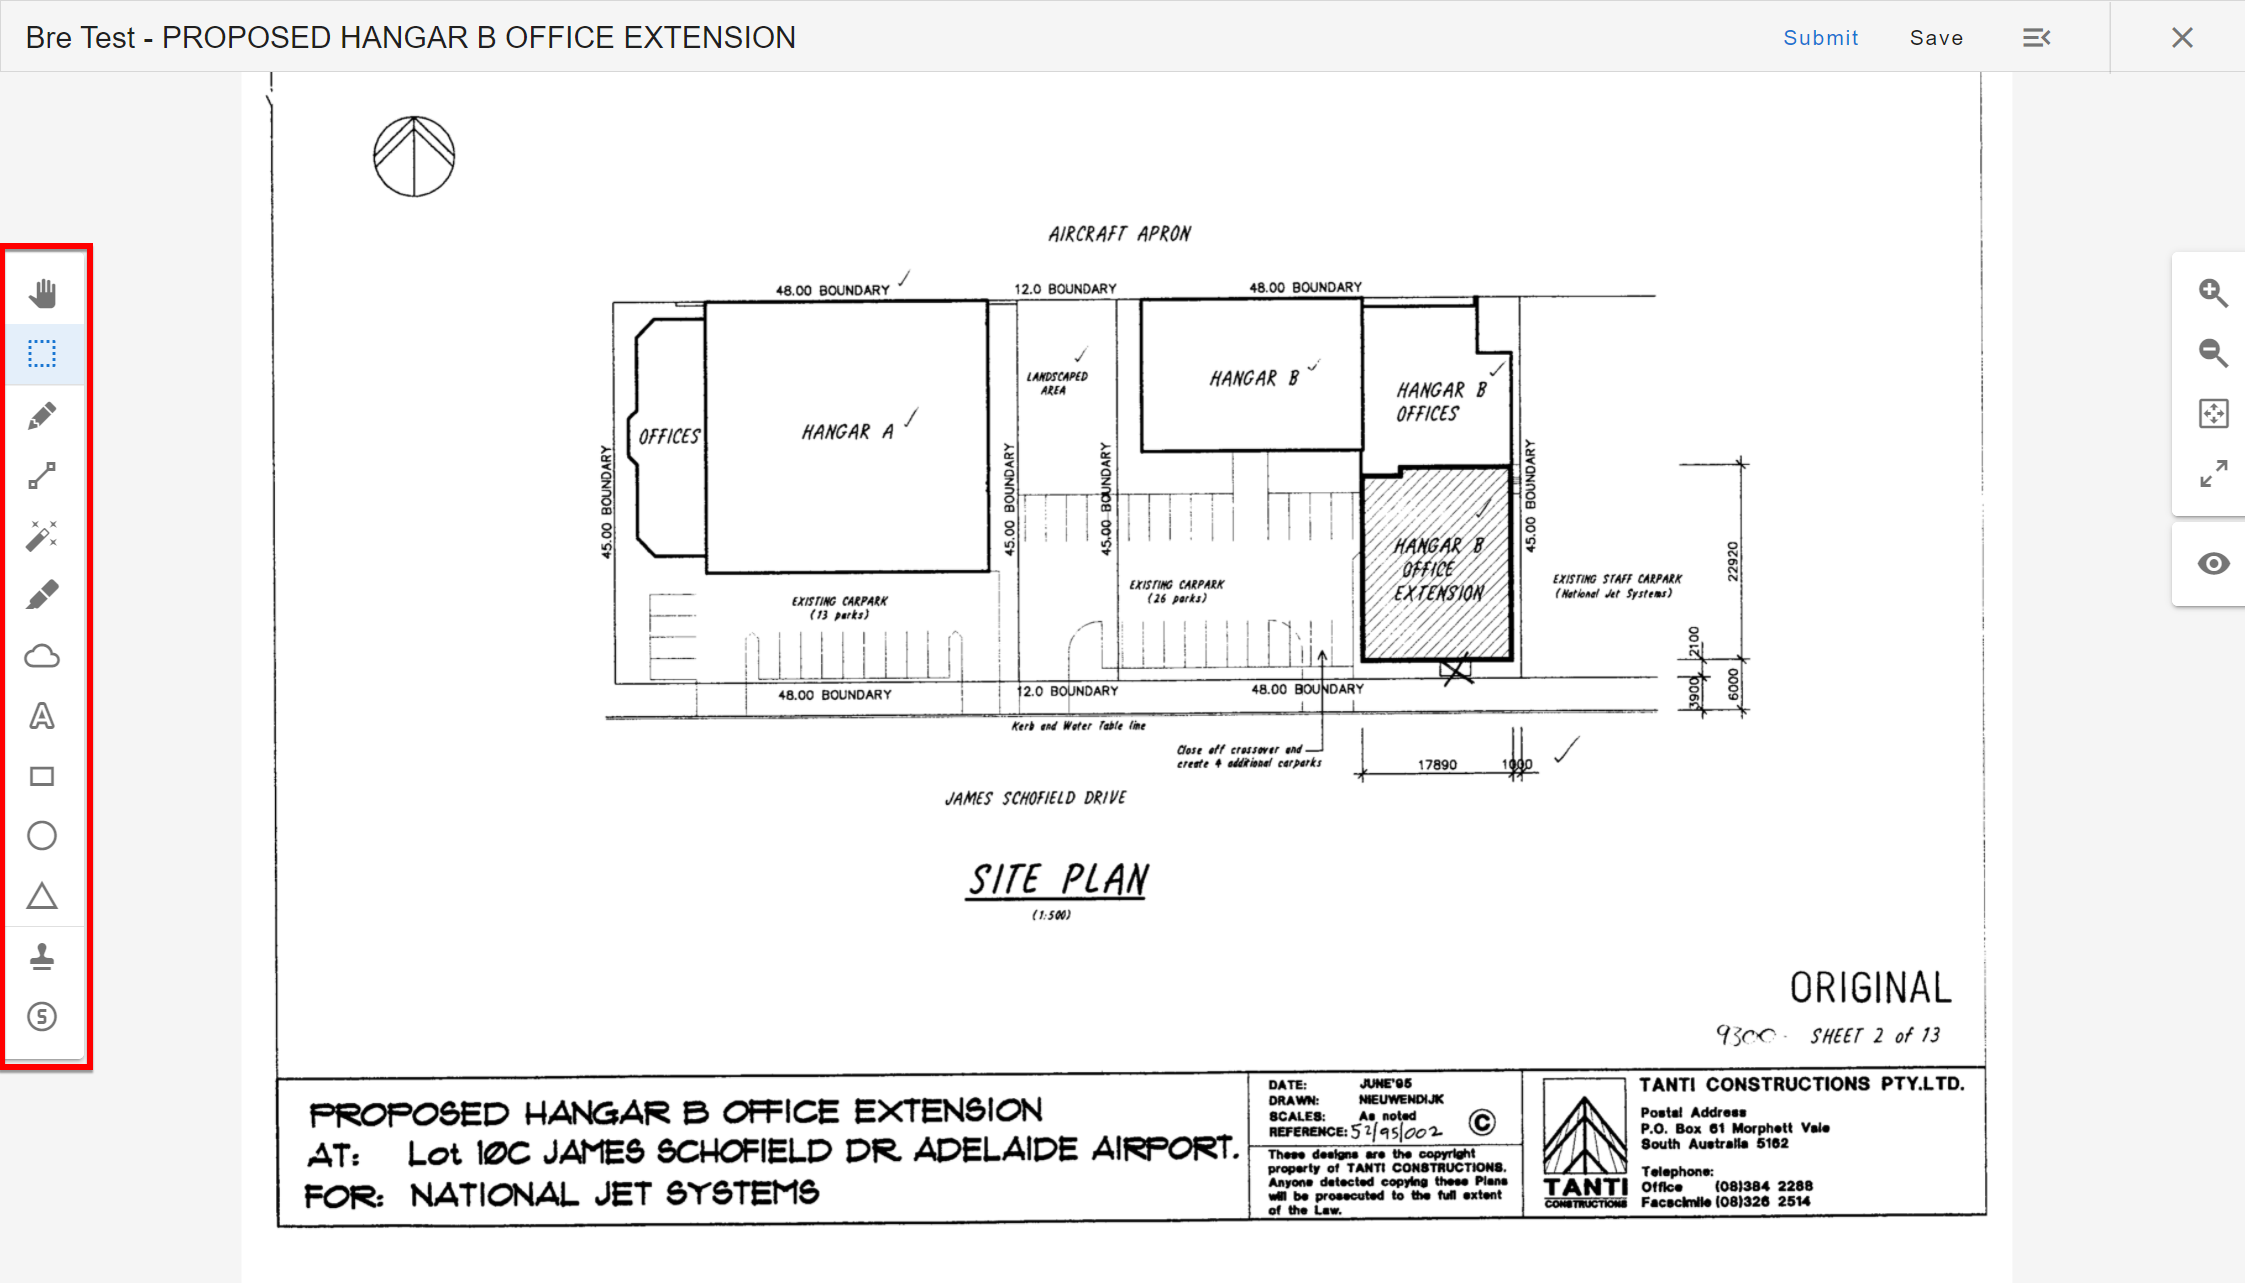
The Redeye Markup Tool page has now been opened. To the left are the mark up tools (Scroll down to see each tool/control's description).
You can view the details of the artefact by clicking the hamburger menu at top right of the screen to slide out a transparent overview. Click the opened transparent overview to make it more visible and click the hamburger again to slide it out of sight.
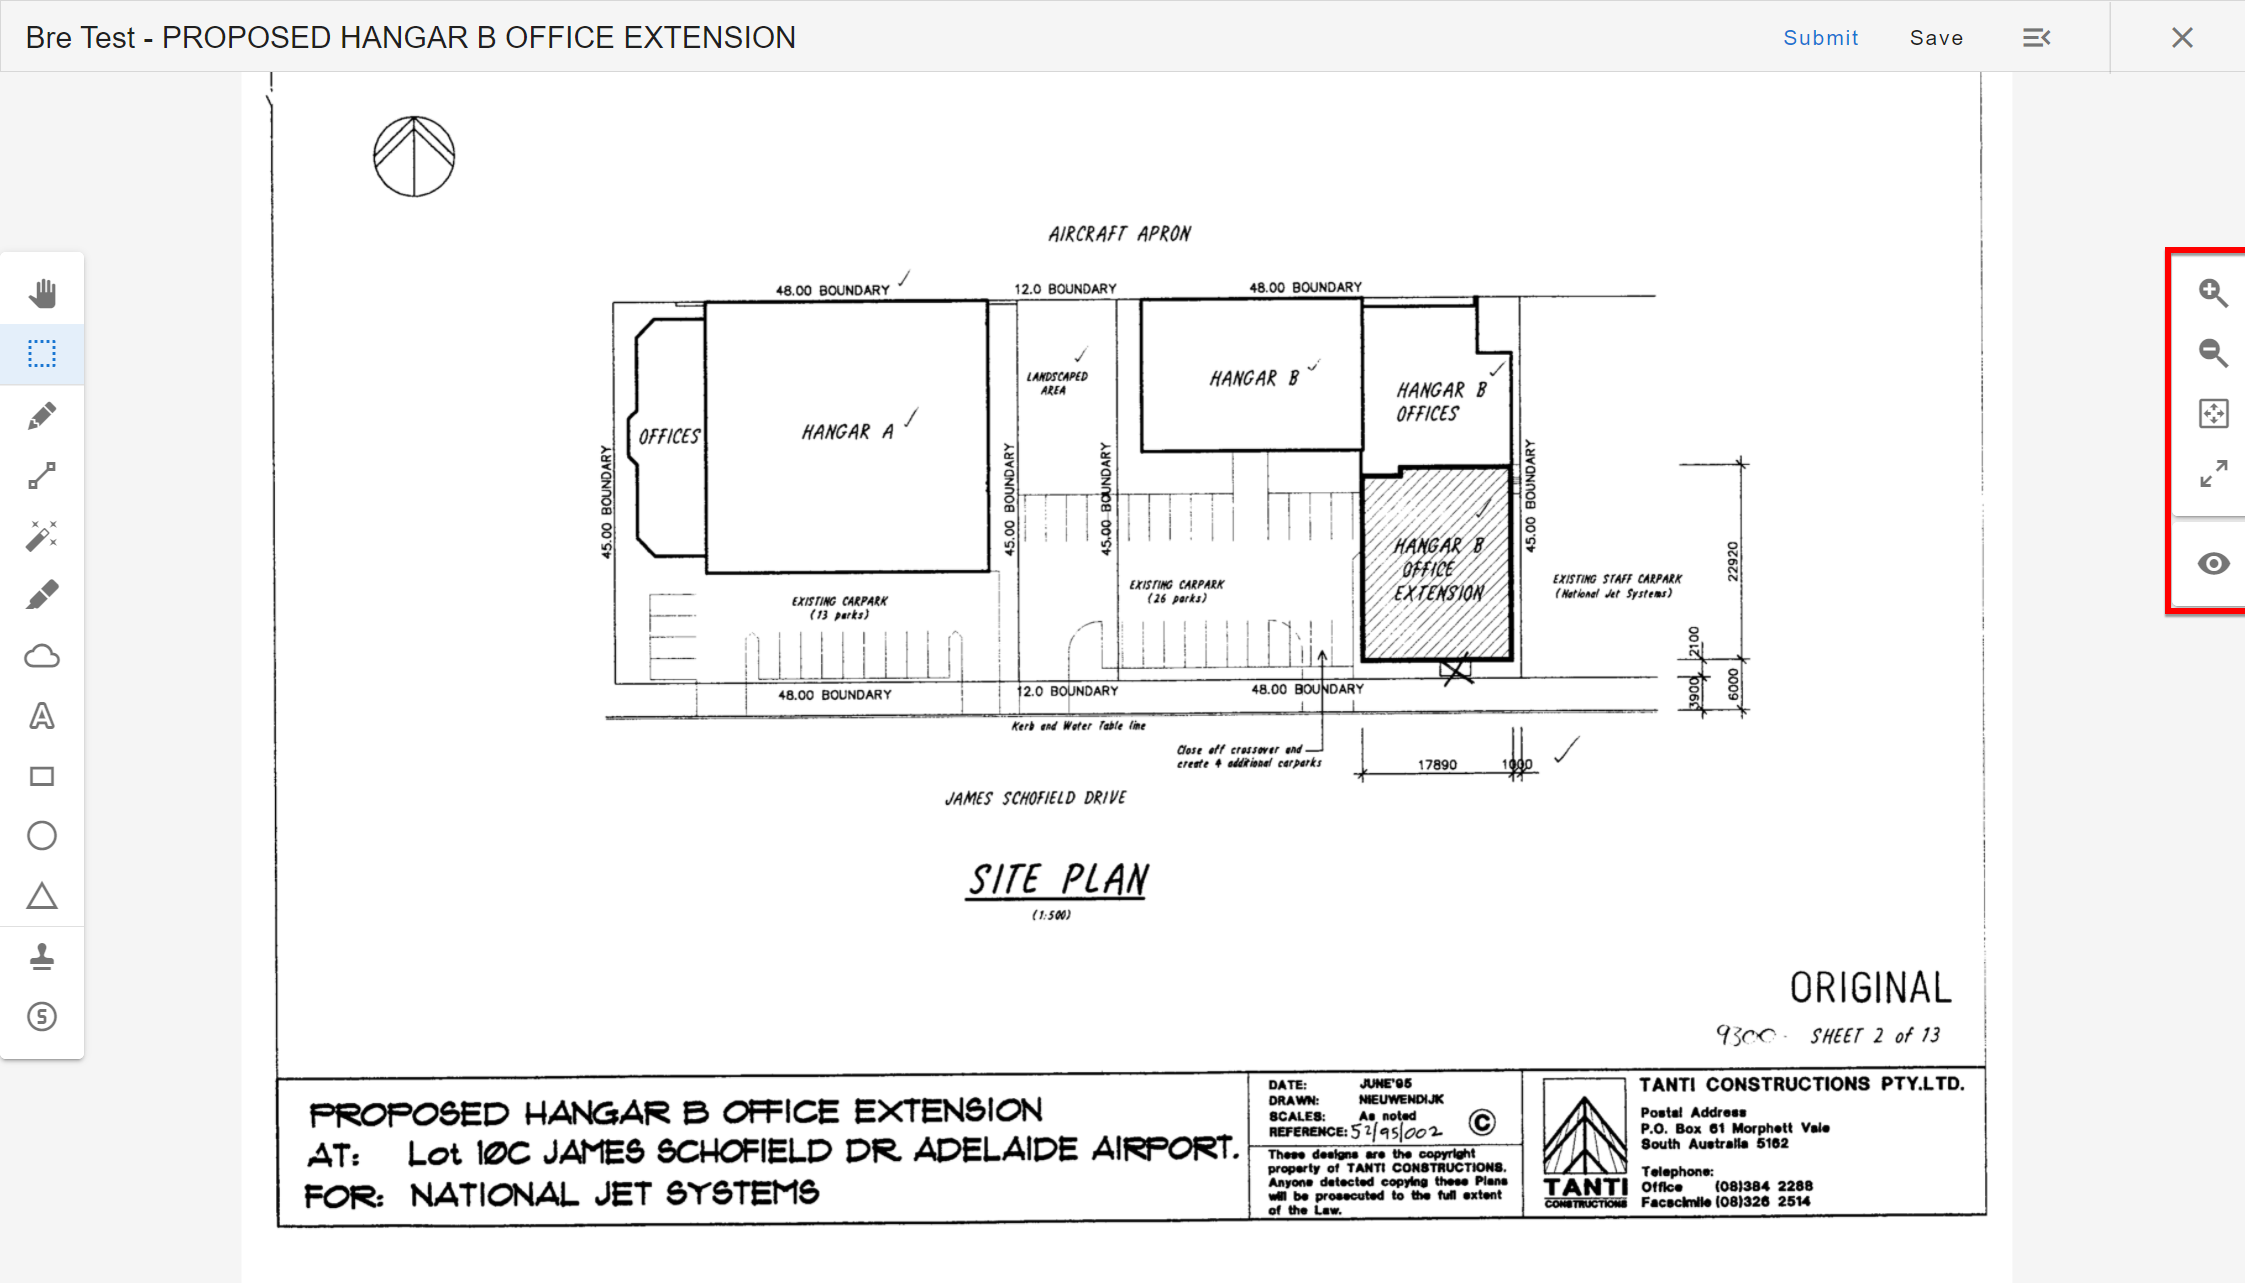
At the top left and right of the page controls to manipulate the markups when added to the page.
Once happy that the mark up is ready to submit, Click Submit Markup at top right to submit the markup and update the workflow status of the artefact.
You are able to Save Markup (you can navigate away from this page once you have saved the markup and do other activities without losing the current mark ups prior to submitting. Click on the On Screen Markup button to return to the markup page to find previous work is there - complete and submit the markup).
If you try to navigate away from the markup page without saving or submitting you will see a pop up asking to Stay or Leave the page - click Stay to go back and Save Markup or Submit before leaving, to preserve any markups.
Markup Tools
 Hand: Select an existing markup so that you can then manipulate it. e.g. rotate, scale, change colour/line weight.
 Select: Click and drag with your mouse, or tap and drag your finger if using a tablet device, across multiple markups to group them so that you can manipulate them as a whole. Click outside the group to 'ungroup' when finished.
 Pencil: Use to draw a freehand line using the mouse, or if using a tablet device your finger and/or stylus.
 Line: Draw straight lines with the Smart Pen.
 Magic Pen: Draw rough freehand shapes. The system recognizes the shape and redraws it perfectly for you.
 Highlighter: Highlight part of a drawing with cursor, or if using a tablet web device your finger and/or stylus.
 Cloud: Draw a cloud around part of a drawing. Once activated click and drag clockwise in a circle to create a cloud. Counter-clockwise will draw a punch through the
cloud.
 Text: Add text to a drawing. Click this icon, then the location to add the text to. A dialog displays where you can enter the text to add to the drawing. Use arrow keys to move the cursor to insert text.


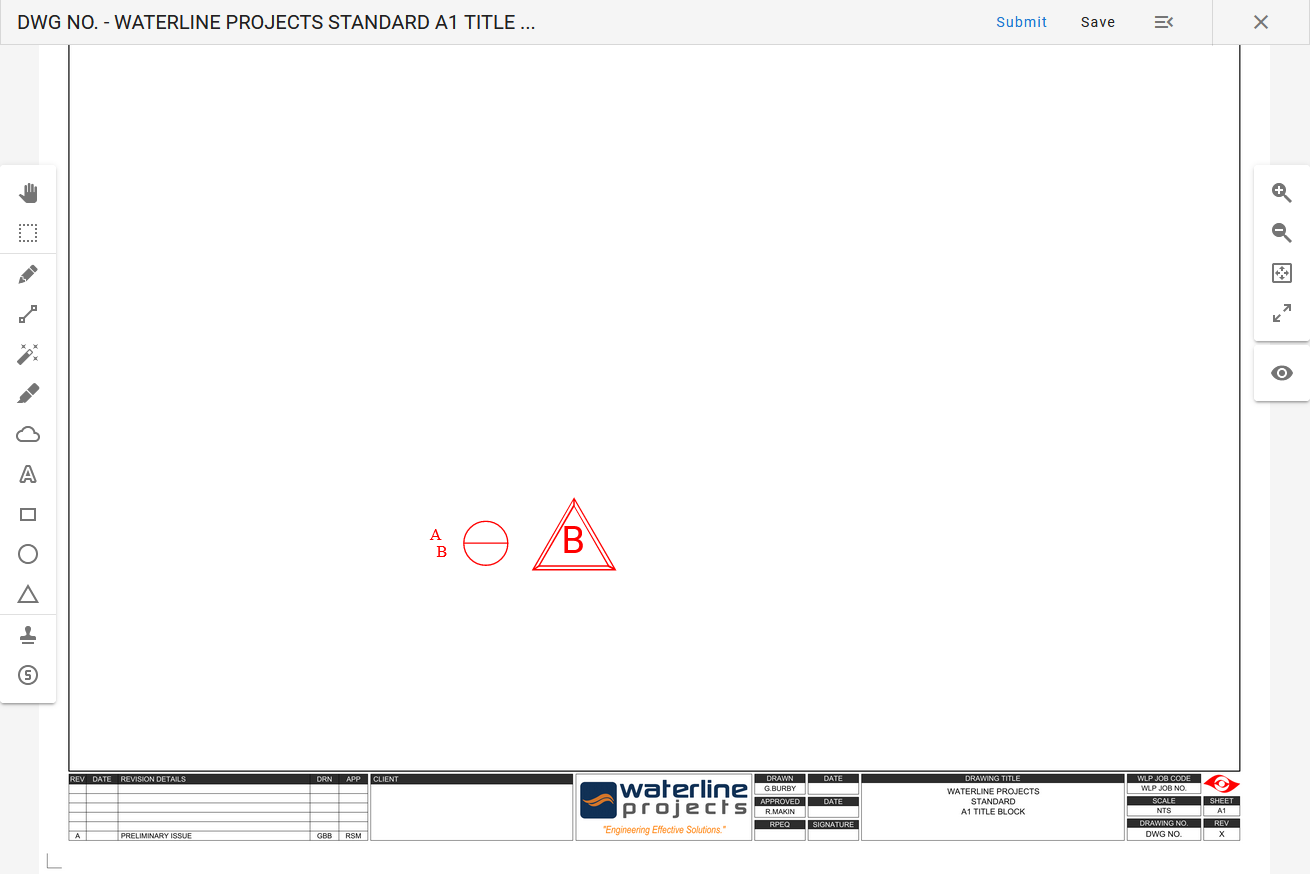
 Shapes: Add accurate shapes to a markup.
 Hamburger Menu | Exit: Click to view artefact details on screen. Click X to exit the tool.


 Scale: Zoom in/out the artefact for detailed work and to fit to screen.
 Copy Markup: Select a markup and click to duplicate.
 Delete Markup: Select a markup and click to remove that selection.
 Show/Hide Markups: Click to show/hide markups to compare with unmarked up artefact.
 Stroke Width: Scale the thickness of lines and letters. Enter a number between 1 and 100 pixels.
 Colour Picker: Change color of markups selected using Hand or Select.
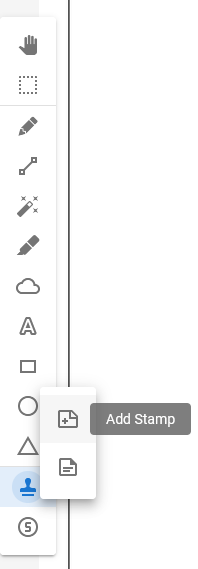
Expanded Stamp Functionality
Note: To get started using the Stamp function, the bucket needs to be set up with the stamp files configured for Markup Tool. Please get in contact with your Customer Success Manager for further details.
You now have the ability to duplicate all previously used stamps and the ability to apply multiple stamps in a batch. Here are the steps to utilize this expanded feature:
-
Select to Add Stamp.
-
Select the stamps you want to apply to this drawing by ticking the top right green tick.
The stamps listed in the first part are recently used and have their values retained from the last time they were applied.
If required use the Edit button to update the values on the stamp before applying to the drawing.

-
Select Add Batch Stamps.
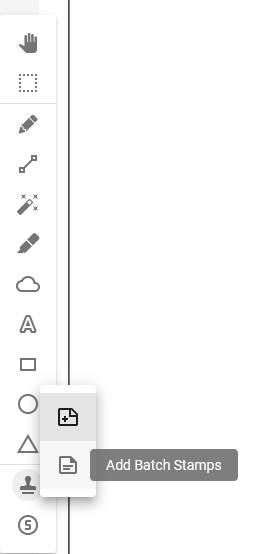
-
Click the drawing where you want to apply the batch of stamps.